Creating your first site with Hinode
Posted on April 3, 2023 (Last modified on August 17, 2023) • 16 min read • 3,243 wordsGuide on how to set up your site with version control and automated updates using GitHub and VSCode.

Introduction
Hinode uses Hugo , a popular open-source generator, to generate a static website. Static websites do not require a database and can be hosted virtually anywhere. In this guide, we will set up a new site using a template from GitHub. We will then edit our Markdown content with Visual Studio Code (VSCode). Lastly, we will submit our changes to the main branch and enable automated updates.
This guide requires a GitHub account to host the demo repository. Next, Git, Node.js and npm are required for local development and testing. The guide also uses VSCode to edit the content. Click on each of the following links to sign up and install the required software as necessary. The software packages should be compatible with Windows, macOS, and most Linux distributions.
- Set up an account with GitHub
- Download and install the Git binary
- Download and install Go
- Download and install Node.js (it includes npm)
- Download and install VSCode
Step 1 - Initializing the project
As first step we will create a new repository on GitHub using a template. The template uses npm to automate several tasks1. We will then connect our local machine to the remote repository and install the required dependencies. Lastly, we will run a local development server to test the newly created site.
Creating a new Git repository
Hinode comes in two flavors: a template and a main theme . We will use the template as starting point for our new site, as it has several predefined settings that support automation.
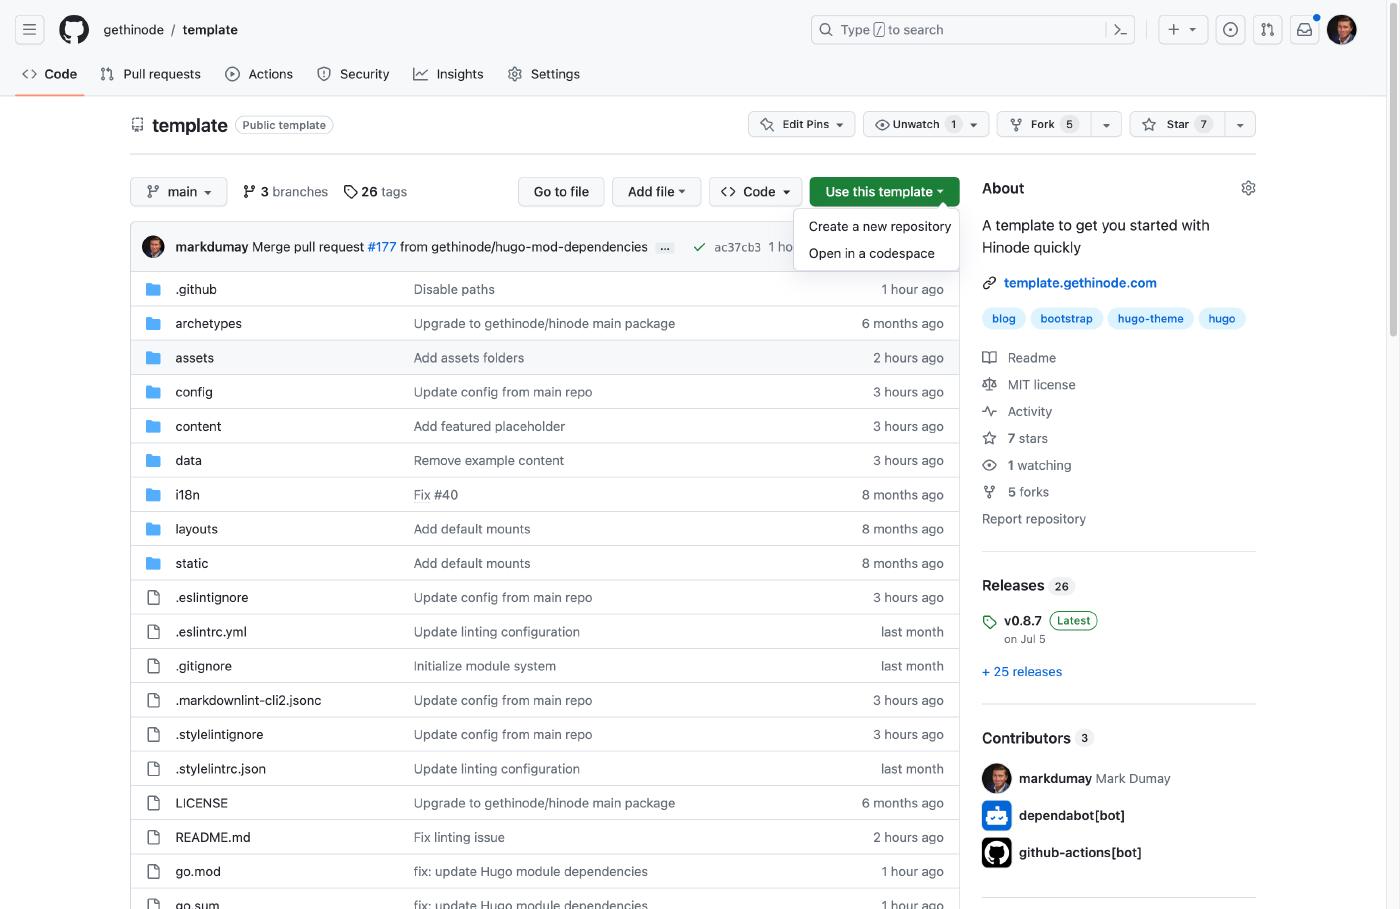
Navigate to the
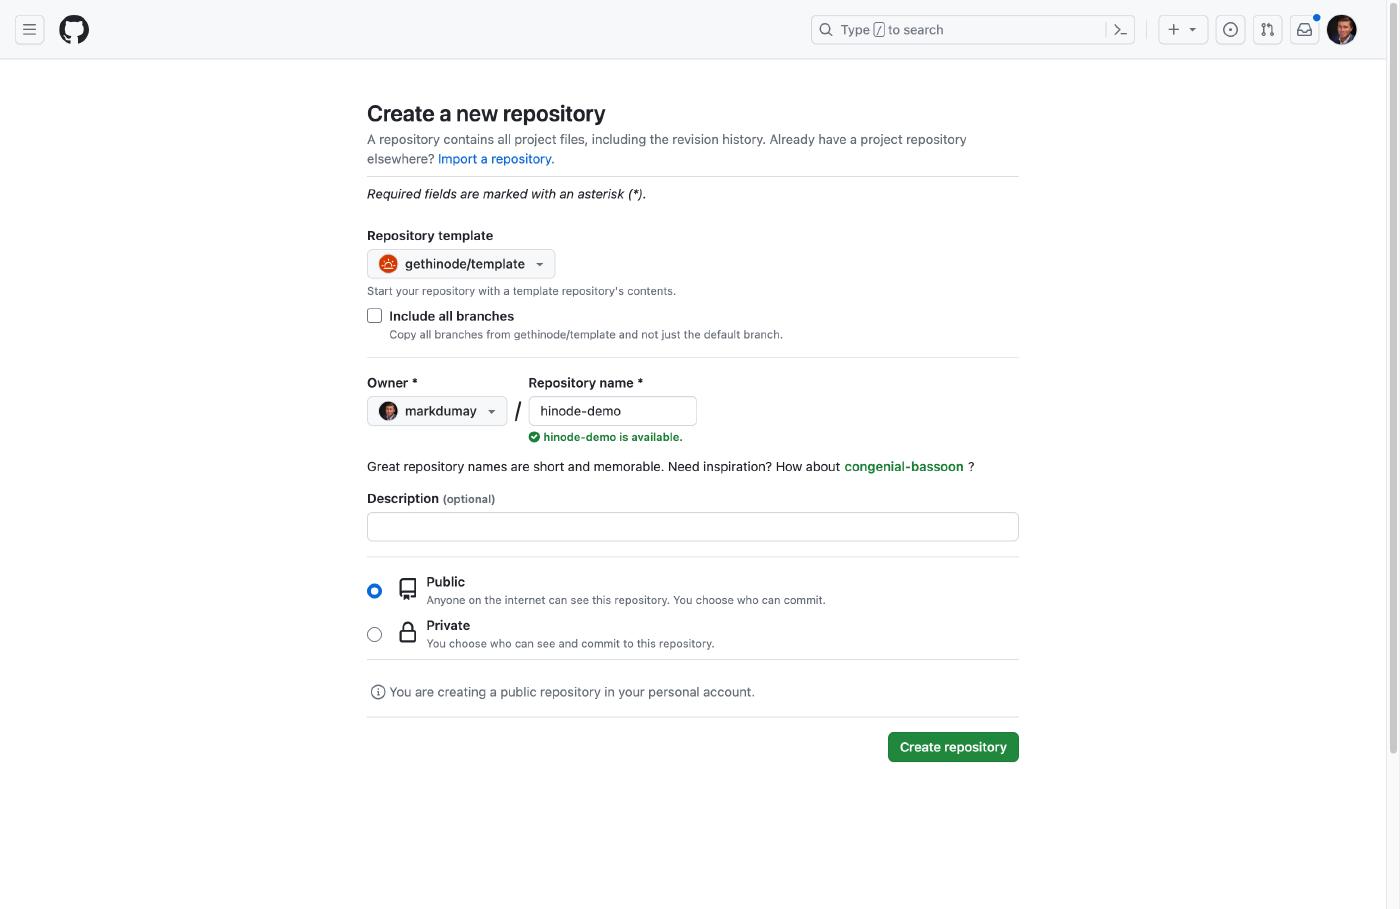
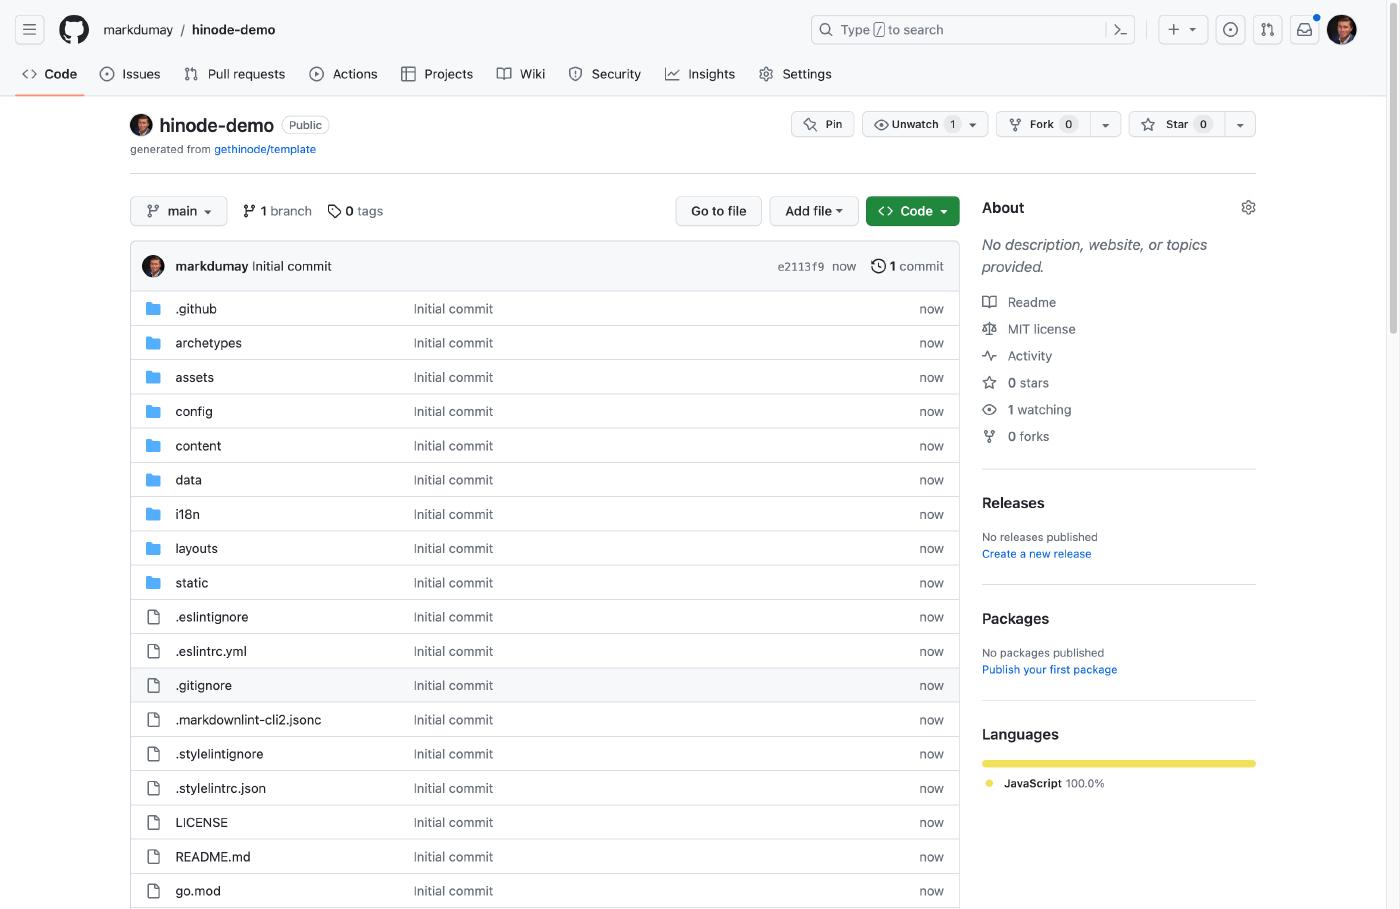
template repository in your browser and click on the green button Use this template to create a new repository. You may need to sign in to GitHub for the button to become available. Provide a meaningful name for your repository, such as hinode-demo. The repository’s visibility can be either private or public. Public repositories can be seen by anyone, such as open-source projects. Private repositories are only visible to yourself, or to anyone you have granted access. Lastly, click on the green button Create repository from template to create your repository.
Connecting your local machine
We will now connect our local machine to the newly created GitHub repository. Navigate to a folder on your local machine, such as ~/Documents. Use the git clone command to download and extract your GitHub repository within the current folder. By default, git creates a new subfolder with the name of your repository, e.g. hinode-demo. The next command is an example, be sure to replace the <USER> name with your own.
git clone https://github.com/<USER>/hinode-demo.git
Cloning into 'hinode-demo'...
remote: Enumerating objects: 39, done.
remote: Counting objects: 100% (39/39), done.
remote: Compressing objects: 100% (33/33), done.
remote: Total 39 (delta 1), reused 26 (delta 1), pack-reused 0
Receiving objects: 100% (39/39), 119.98 KiB | 777.00 KiB/s, done.
Resolving deltas: 100% (1/1), done.
Installing the packages and dependencies
We will now install the various packages and dependencies used by Hinode. The file packages.json in the repository root defines the npm packages and their versions as used by Hinode. First, navigate to the hinode-demo folder:
cd hinode-demoNext, use the command npm install to download and install the various packages. npm will store these files in the hinode-demo/node_modules folder. The script downloads and installs the latest Hugo binary automatically. In this approach, the Hugo binary is linked exclusively to your repository, minimizing potential version conflicts on your local machine.
npm install

added 510 packages, and audited 511 packages in 5s

186 packages are looking for funding
  run `npm fund` for details

found 0 vulnerabilities
Lastly, we will install the Hugo modules used by Hinode. Hinode supports two types of modules. Core modules are embedded in the main stylesheet and script bundle, ensuring they are available to all pages across the site. On the other hand, optional modules are only included on a page-by-page basis. For example, if your site only requires an interactive map on a few pages, you can include Leaflet module on those pages only. This helps to reduce the size of your page assets. Run the script mod:update to download and install the latest version of the modules.
npm run mod:update

> @gethinode/template@0.10.0 mod:update
> hugo mod get -u ./... && npm run -s mod:vendor && npm run -s mod:tidy

Update module in /../hinode-demo
Running a local development server
Your site is now ready for testing. Enter the following command to start a local development server:
npm run start

> @gethinode/template@0.10.0 start
> hugo server --bind=0.0.0.0 --disableFastRender --printI18nWarnings

Watching for changes in /../hinode-demo/{..}
Watching for config changes in [..]
Start building sites ...
hugo v0.117.0+extended darwin/arm64


                   | EN
-------------------+------
  Pages            |   6
  Paginator pages  |   0
  Non-page files   |   0
  Static files     | 104
  Processed images |  11
  Aliases          |   0
  Sitemaps         |   1
  Cleaned          |   0

Built in 1302 ms
Environment: "development"
Serving pages from memory
Web Server is available at http://localhost:1313/ (bind address 0.0.0.0)
Press Ctrl+C to stop
It usually takes less than a minute to build the site and to start the web server in development mode. Before building the site, Hinode cleans several folders. The build itself shows the result of the pages and other assets generated by Hugo. By default, the starter web site supports the English (EN) language. Lastly, Hugo mentions the local address on which it is available (usually http://localhost:1313/) and indicates the folders it is watching. The latter means that if you make any changes whilst the web server is running, Hugo should pick up those changes and regenerate the applicable assets. Using a feature called live reloading, your web browser will be instructed to refresh the web page accordingly.
Step 2 - Managing the content
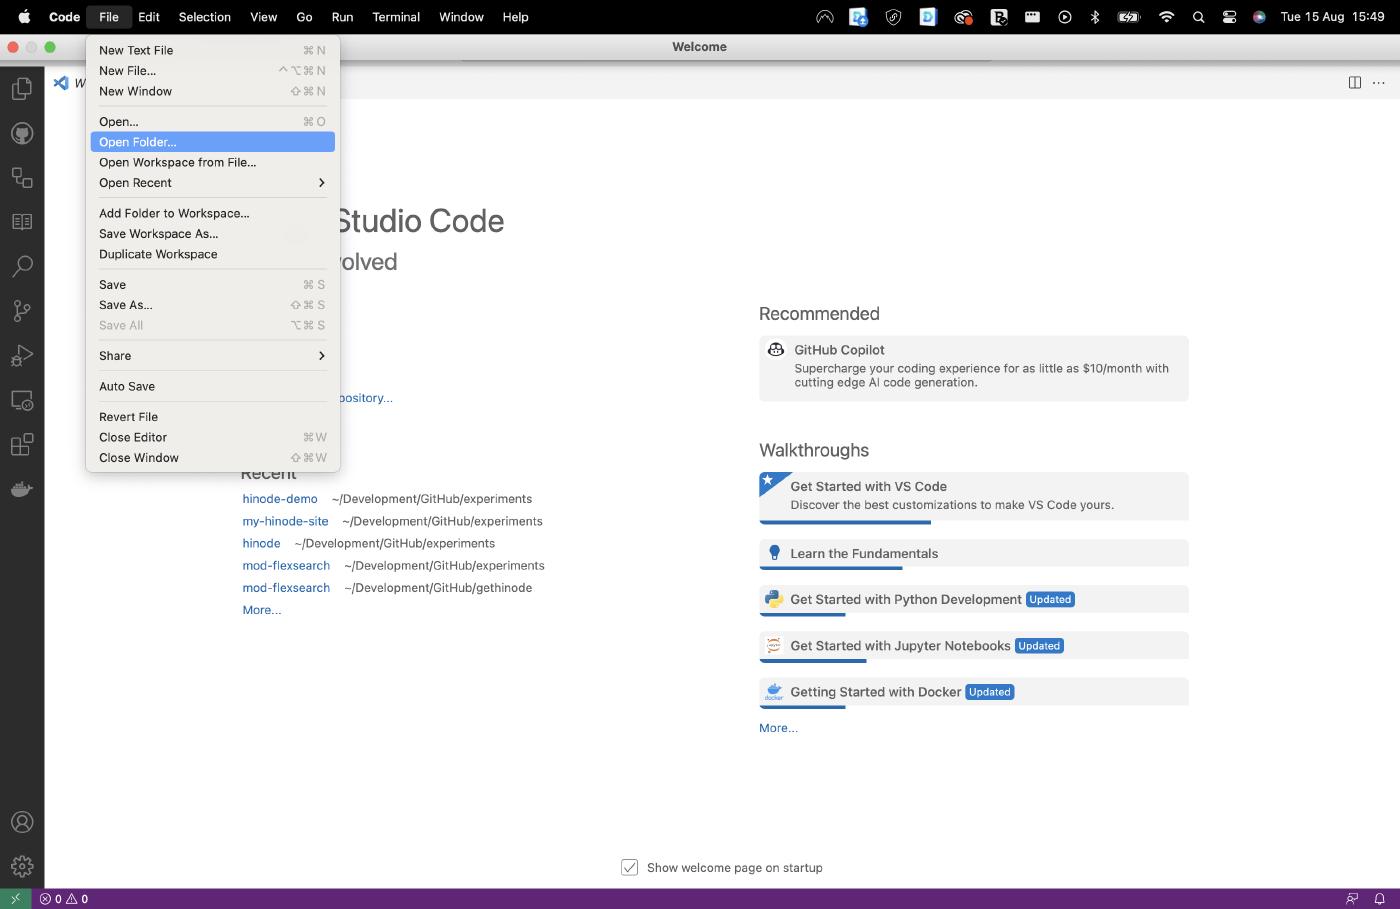
We will now use VSCode to modify the content of our demo site. Start the application and open the hinode-demo folder. The explorer view provides an overview of the folders and files of the repository. The key folders are the following:
| Folder | Description |
|---|---|
assets | Contains static files such as images and stylesheets that are processed by Hugo during build. |
config | Defines the configuration of the site. |
content | Maintains the content and its translations of the site. |
layouts | Defines Hugo shortcodes and partials. |
static | Specifies static files to be deployed as-is, thus without any processing by Hugo. |
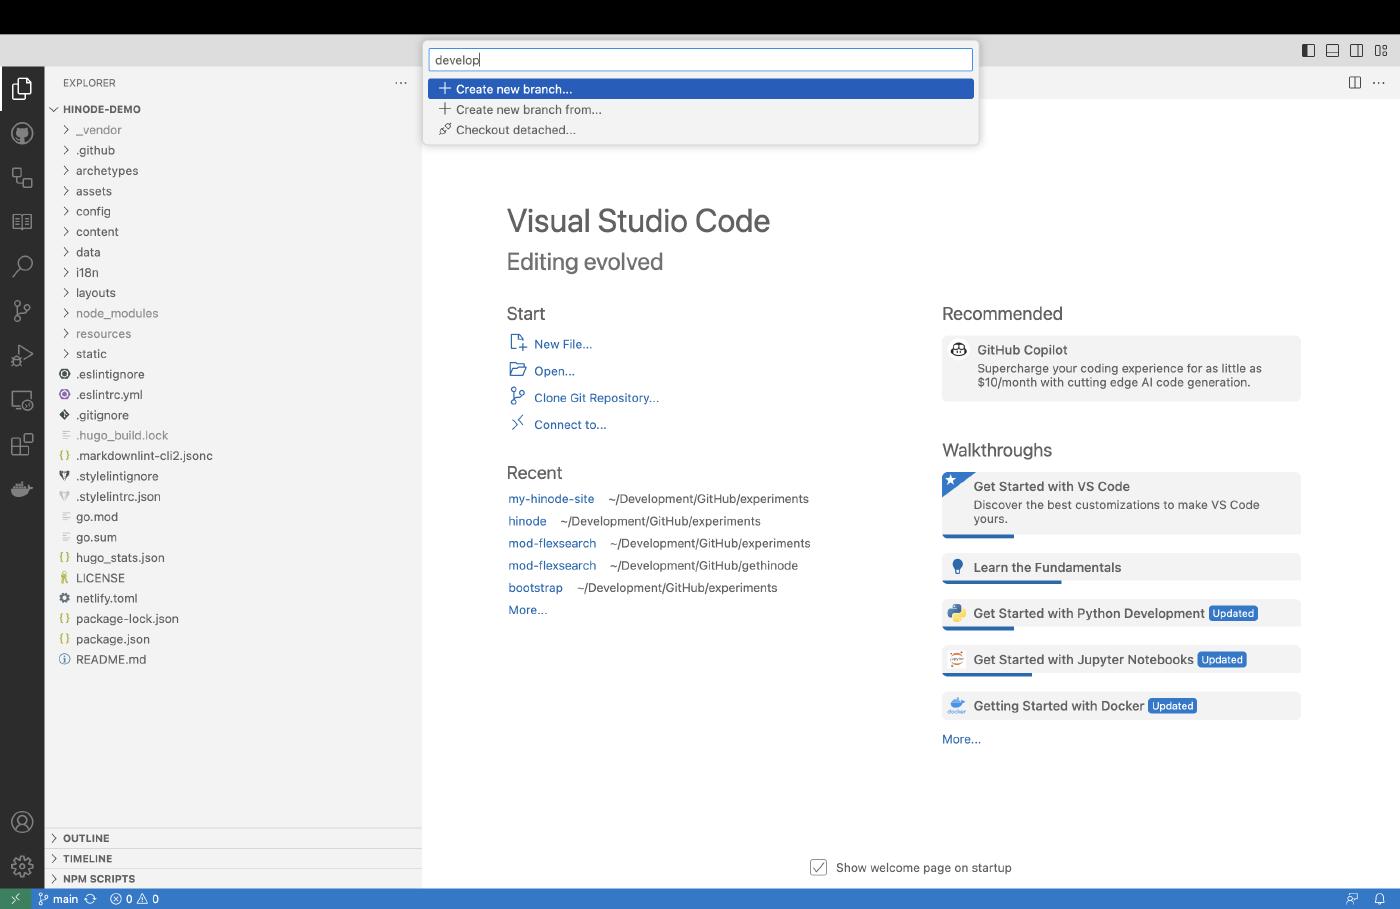
We will now set up a new branch before we make any changes. It is a good software practice to set up at least one branch for development and testing, instead of working directly on the main branch. Hinode provides several predefined tests that verify if submitted changes in a Pull Request adhere to coding conventions and do not break the build.
Head over to the Source Control section of VSCode and click on the button ... to open the source control menu. Within the menu, navigate to Branch / Create Branch.... Provide develop as branch name and confirm with enter. The blue status bar on the bottom of VSCode will now display develop as selected branch. A repository usually contains a main branch that maintains the production code, and one or more development branches. Complex projects with multiple contributors may have multiple active (feature) branches and even nested branches.
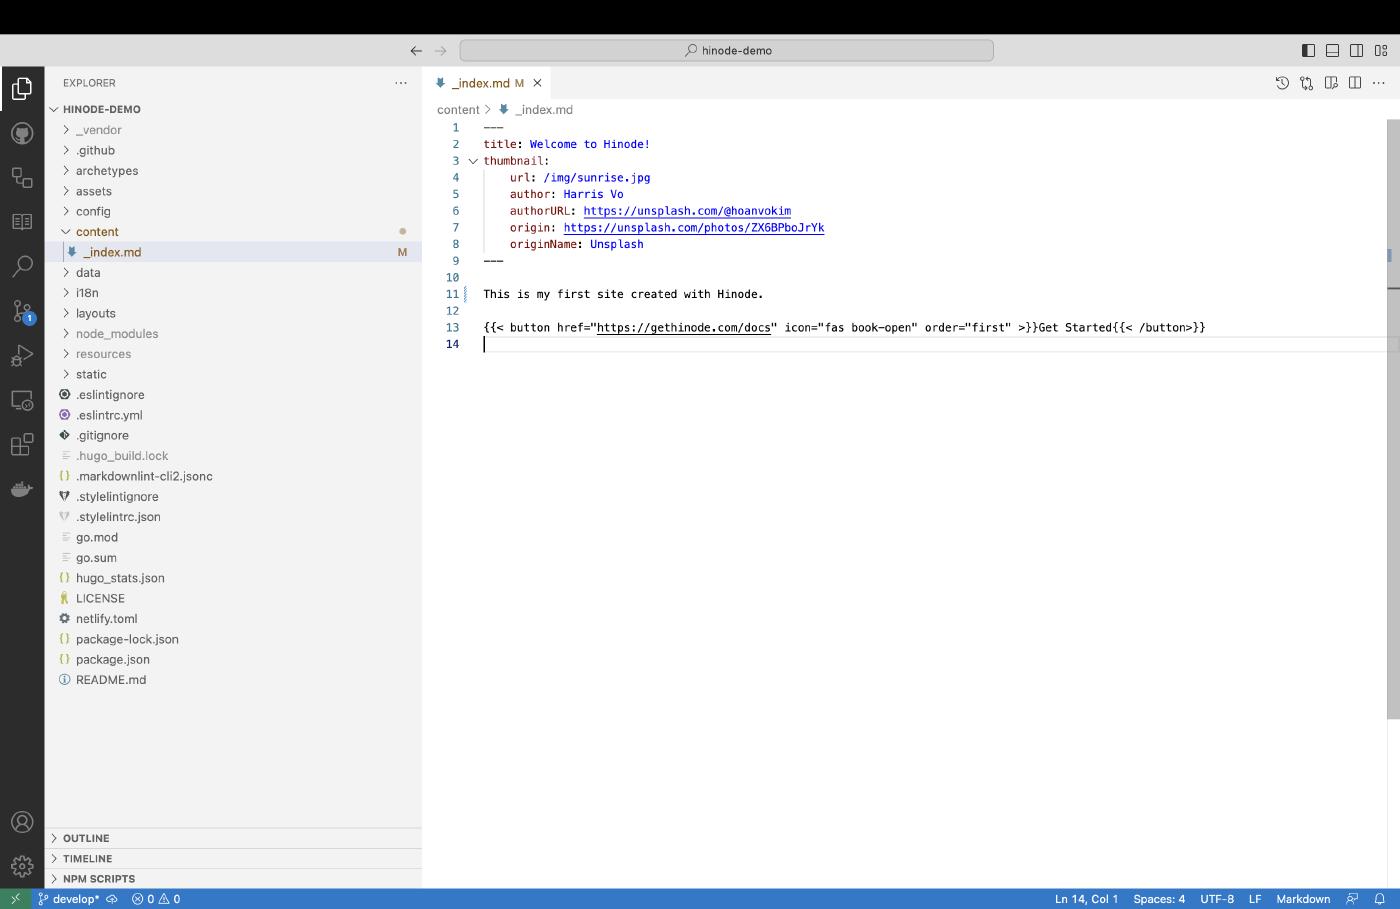
Now let us replace the introduction of the featured section of our homepage. Replace the main content in content/_index.md (below the last --- marker) with the following.
This is my first site created with Hinode.When done, head over to the address http://localhost:1313/ in your web browser to validate the result of the changes.
Our initial page is still rather empty. We will now create a new post and modify the existing about section. Still within the develop branch, create a new folder content/posts. This is a so-called root section and corresponds with the path /posts of your published site. Next, create a new file in content/posts/first-post.md. Add the following content:
---
title: This is my first post
date: 2023-08-15
thumbnail:
    url: /img/sunrise.jpg
    author: Harris Vo
    authorURL: https://unsplash.com/@hoanvokim
    origin: https://unsplash.com/photos/ZX6BPboJrYk
    originName: Unsplash
---

This is my first site created with Hinode. It includes a single blog post.
The content contains frontmatter, denoted by --- markers, and main content. The frontmatter captures the metadata of the page, and usually includes at least a title and a date. The thumbnail is a special variable introduced by Hinode that captures the metadata of our page thumbnail. The image itself is mounted from the main Hinode repository into the assets folder upon build.
Check back to see the changes in your web browser. If you do not see the new post, you might have to restart the web server. Hit ctrl-c and rerun the npm run start command. Your page should now look similar to the following screenshot:

Step 3 - Validating the changes
Hinode defines severals tests to validate the code adheres to coding standards. Run the following command to run the tests locally. The test should confirm our code is safe to check in.
npm run lint

> @gethinode/template@0.10.0 lint
> npm run -s lint:scripts && npm run -s lint:styles && npm run -s lint:markdown

markdownlint-cli2 v0.8.1 (markdownlint v0.29.0)
Finding: *.md content/**/*.md !node_modules !CHANGELOG.md
Linting: 3 file(s)
Summary: 0 error(s)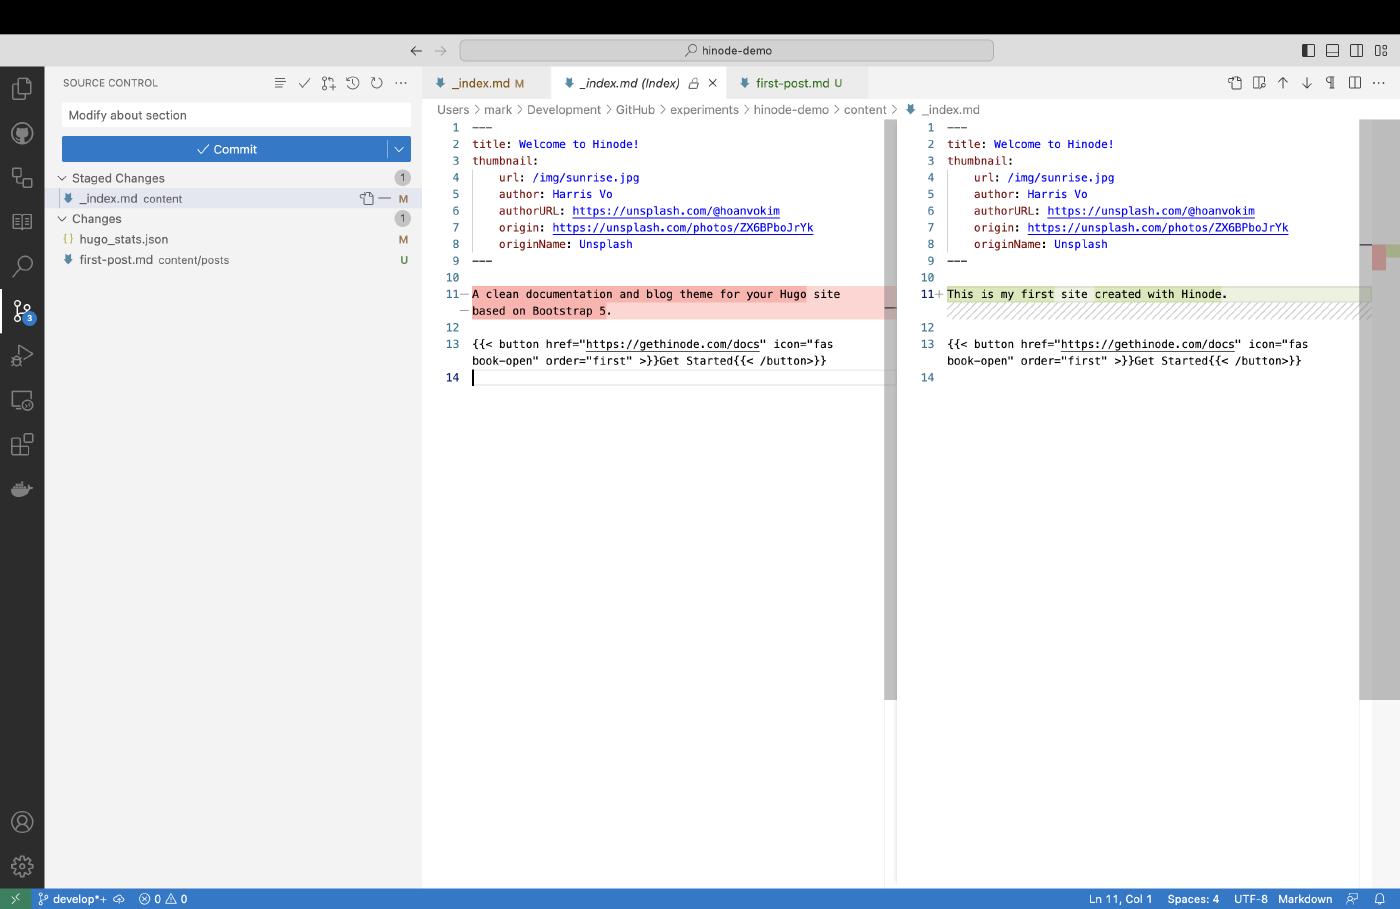
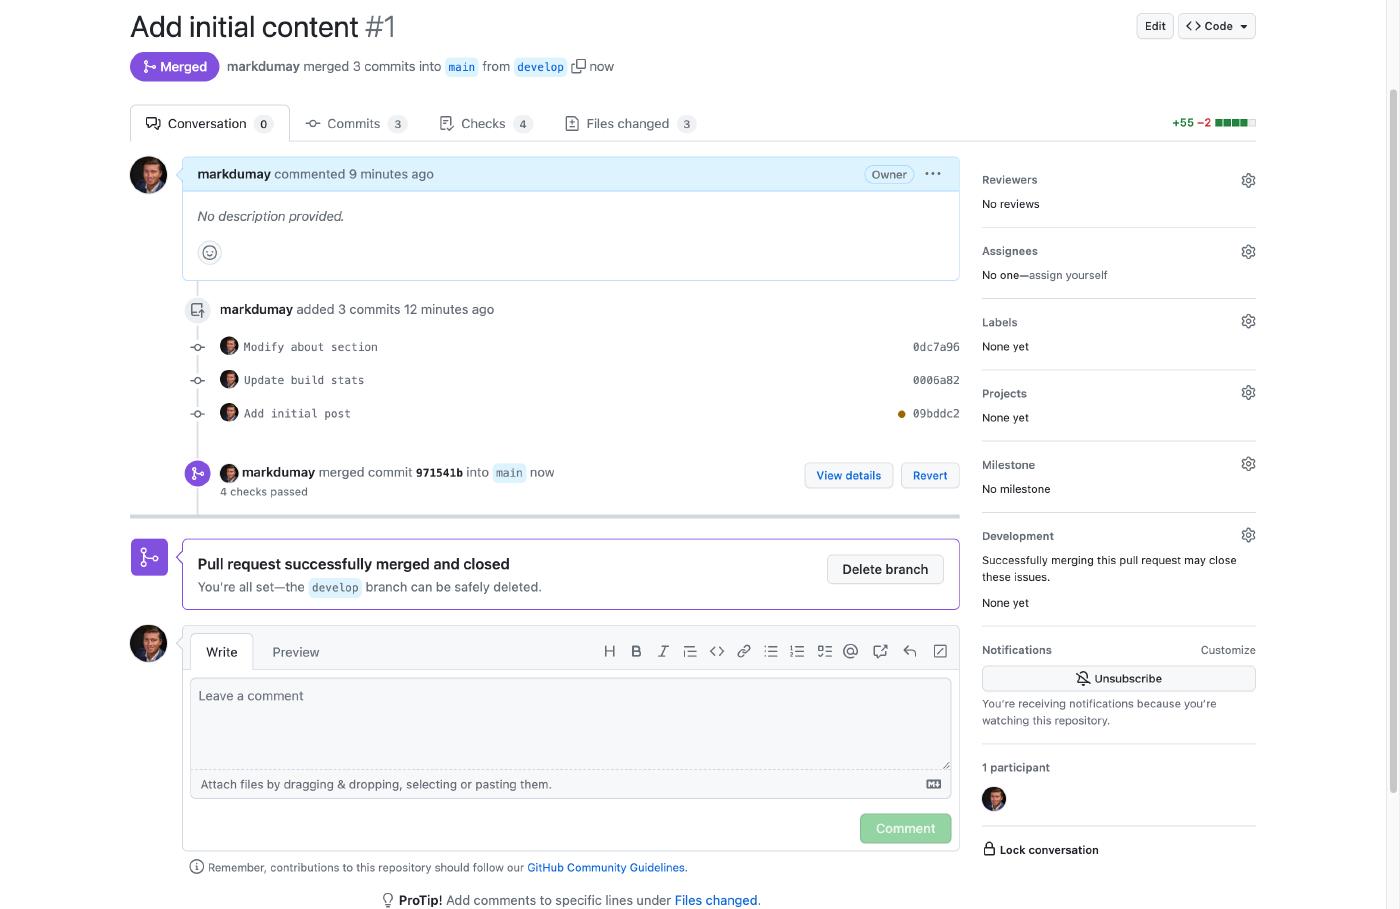
Head over to VSCode’s Source Control to view the pending changes. Click on the file _index.md to open the code inspector. VSCode will then show the differences between the previous version and current version of the file. Content that has been replaced or removed is marked red, and content that has been added or modified is marked green. Verify the change and click on the + button to stage the modification of the _index.md file. Enter a descriptive commit message such as Modify about section. When done, click on the blue Commit button to commit the changes to the develop branch.
By convention, a commit message should use the imperative mood and should be less than 150 characters in total. Review the blog from Initial Commit to see more best practices and guidelines to write good commit messages .
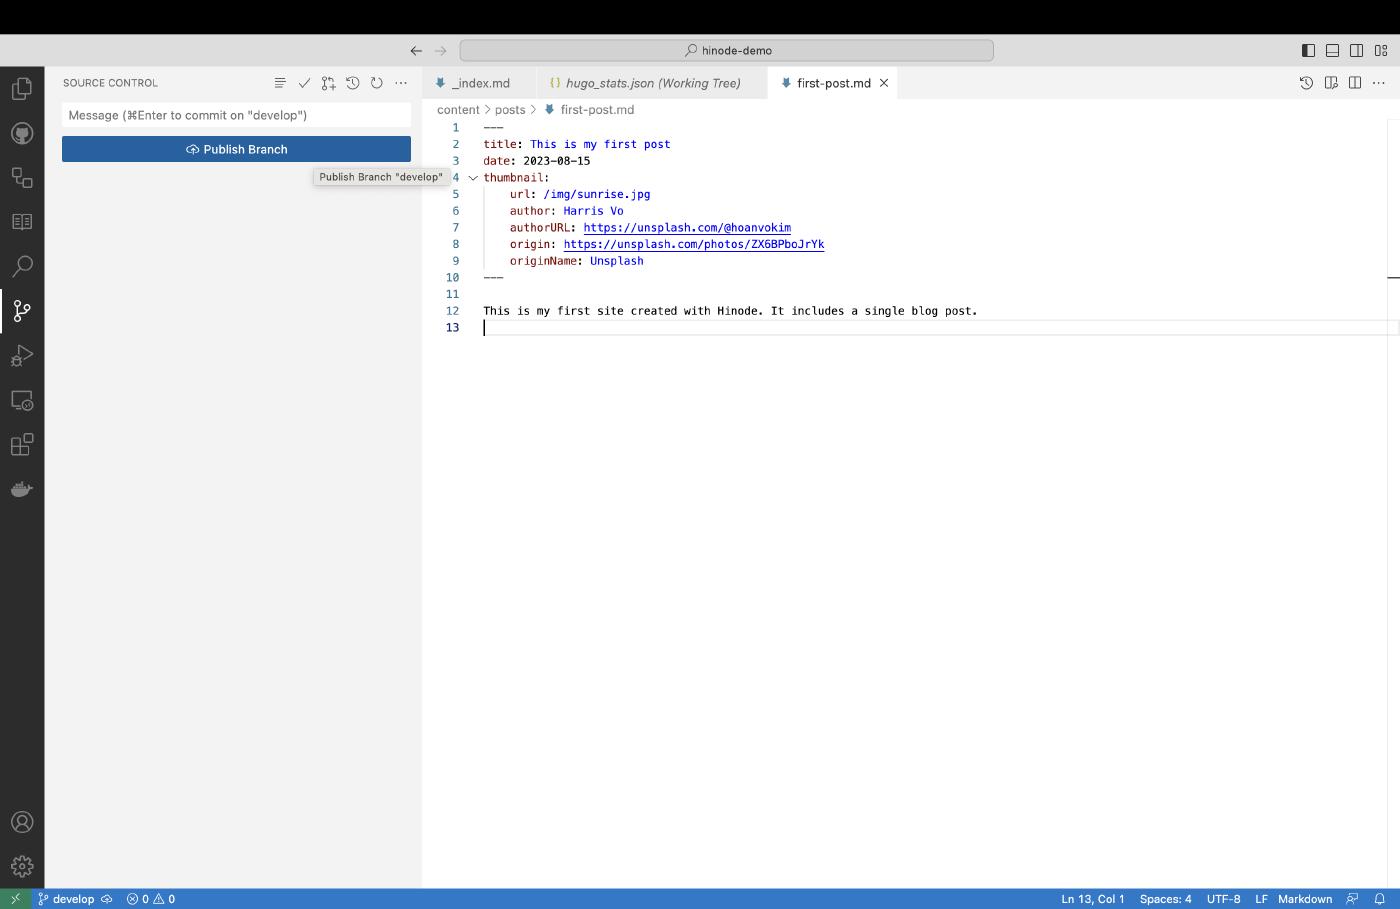
VSCode highlights two additional changes, one being our new post and the other a file called hugo_stats.json. This latter file is used by the purger to avoid required styles are removed unintentionally. Check the guide about optimizing the user experience for an elaborate deep-dive. Stage and commit these two changes too. Lastly, click on the blue button Publish Branch to submit tbe branch and its content to GitHub. For an existing branch you would push the button Sync Changes instead.
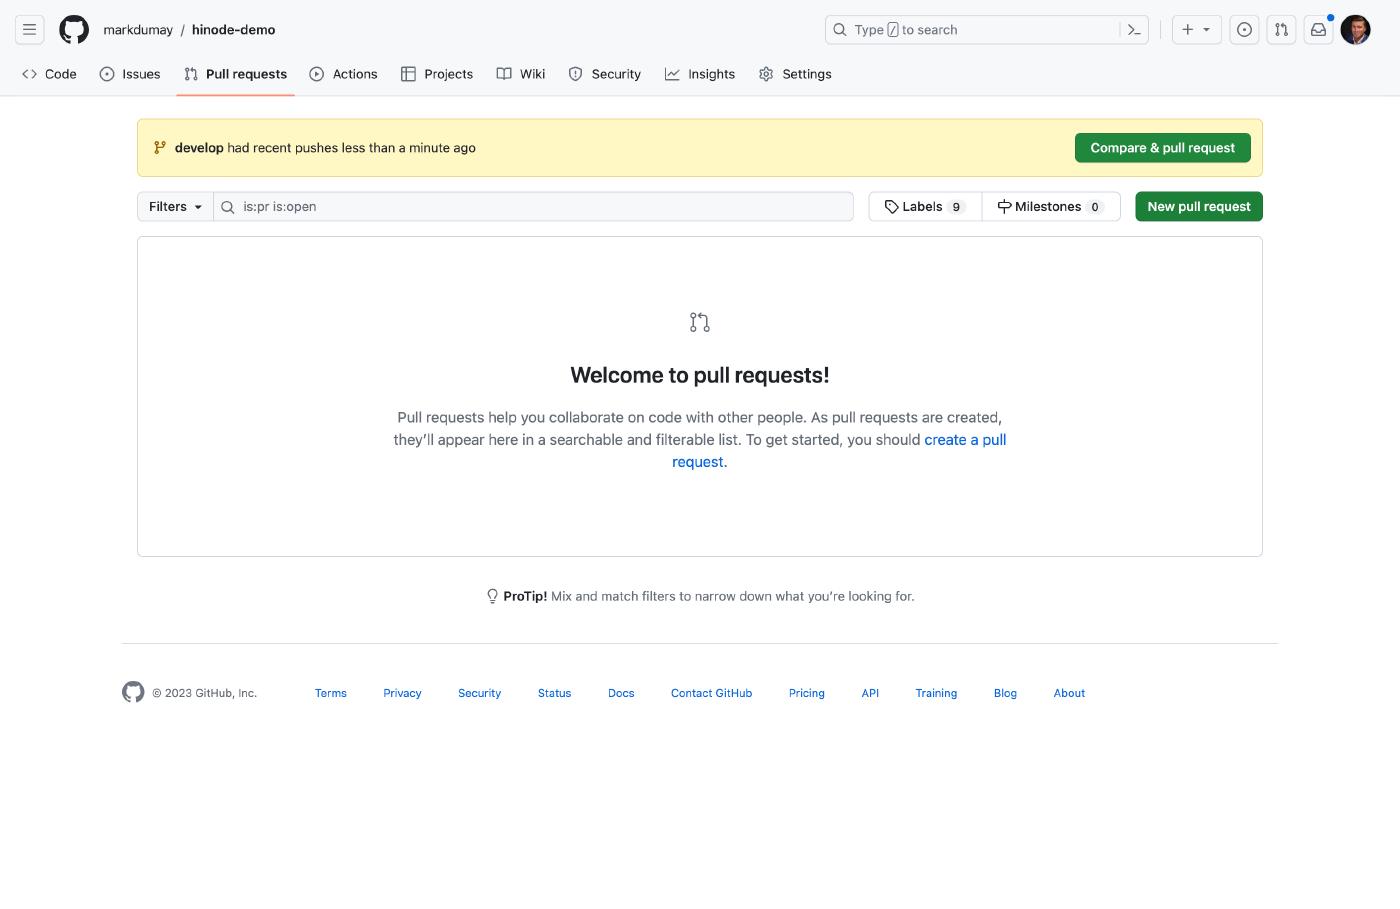
Step 4 - Submitting a Pull Request
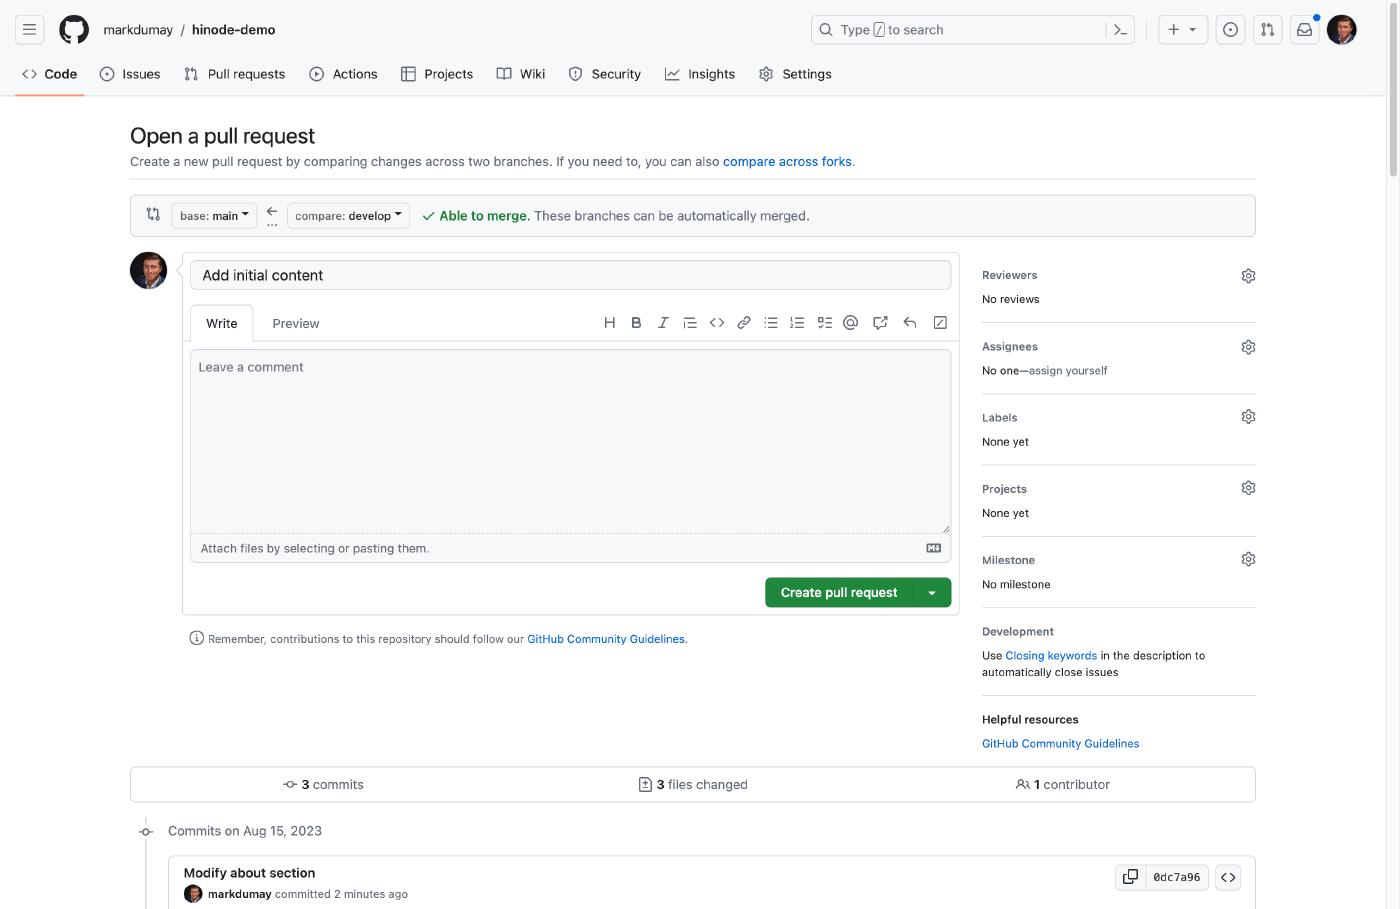
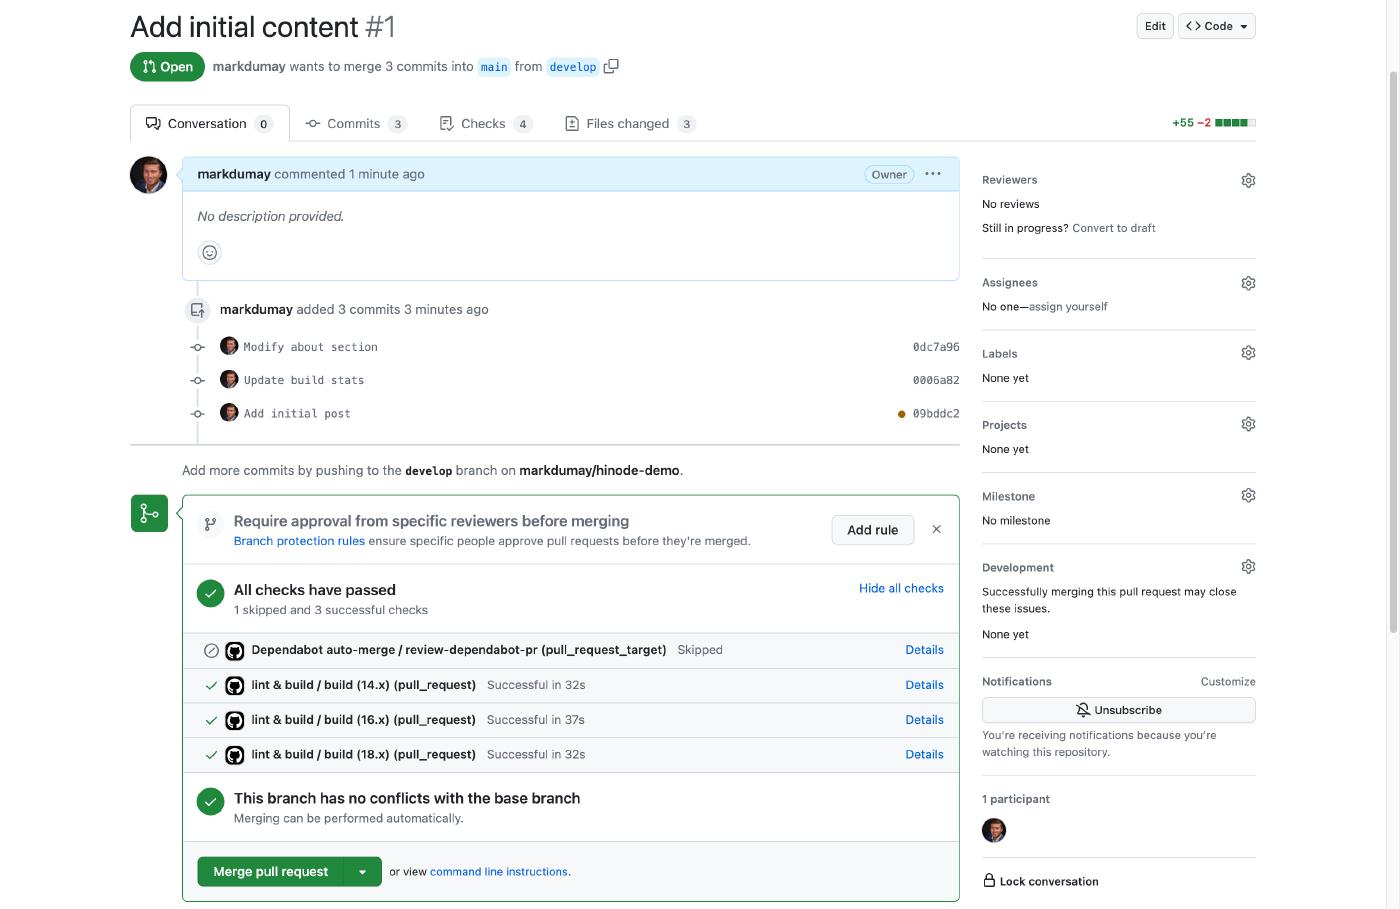
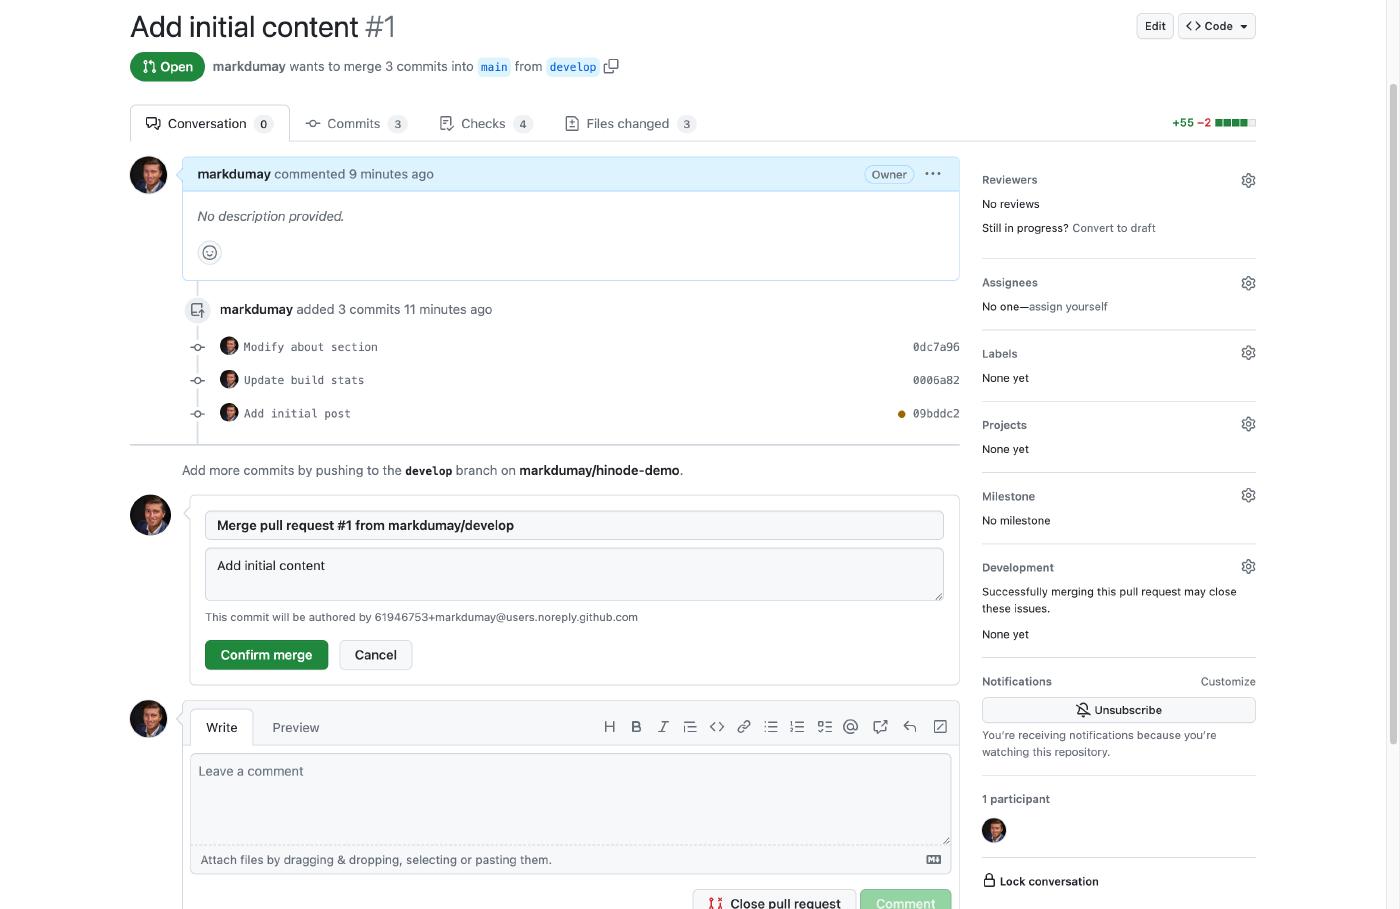
With your changes committed to the remote develop branch, you can now merge the changes with the main branch. Head over to your repository on GitHub to submit a Pull Request (PR). Click on the green button New pull request within the menu Pull Requests to do so. Enter a descriptive title for the PR, or confirm the default title suggested by GitHub. Click on the green button to submit the PR, which triggers GitHub to run several checks.
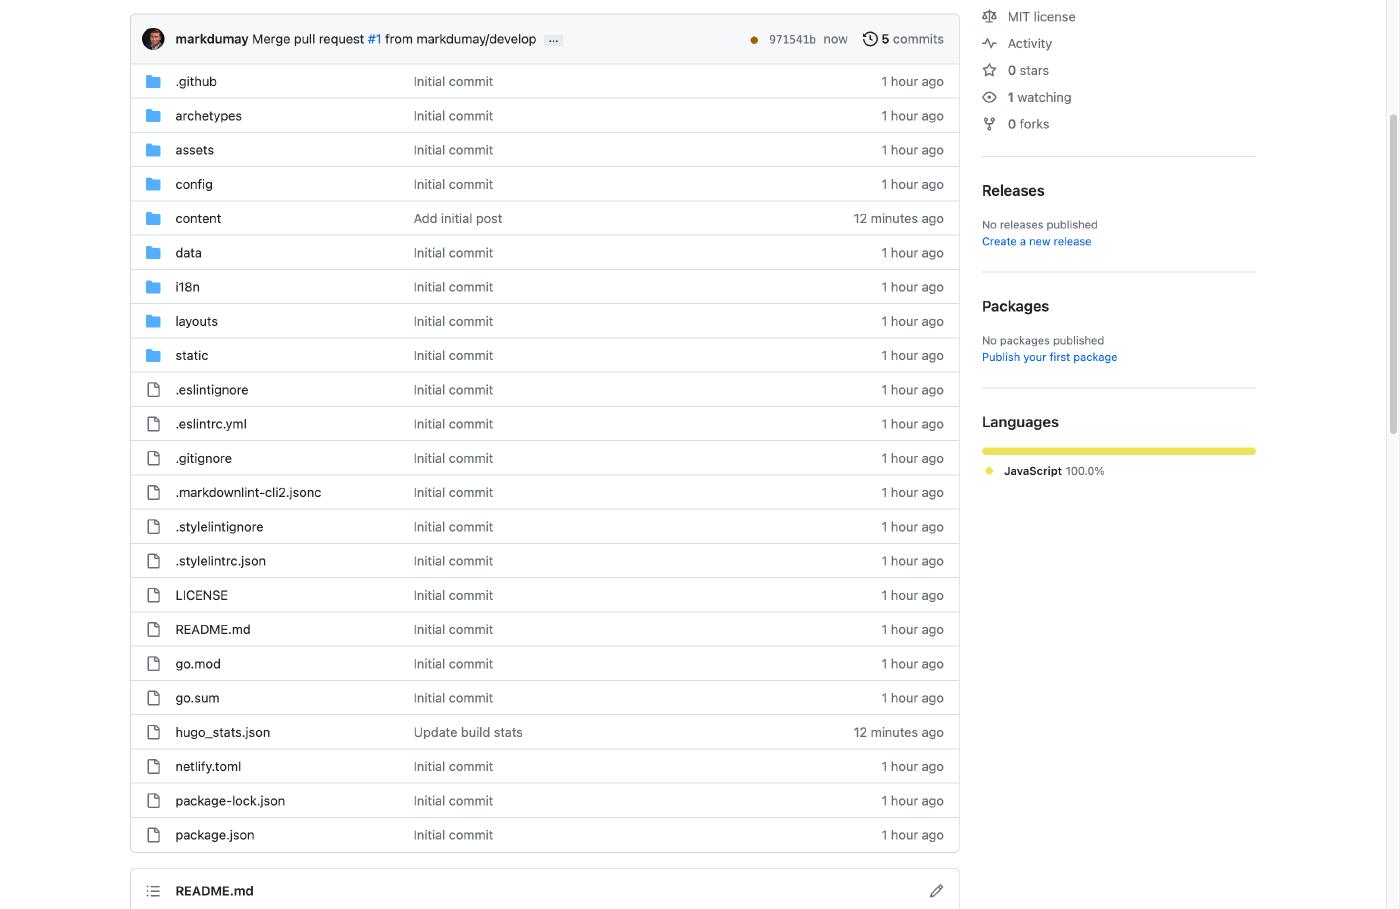
By default, Hinode runs a linting test and builds the web site with the latest versions of Node.js. The linting test is the same test ran in the previous step. The tests act as a sort of safeguard to prevent changes breaking the main repository. You can confirm the merge when all checks have passed successfully. You can then observe the commit message associated with the content folder when you head back to the code of the main repository.
Step 5 - Enabling automated updates
The Hinode template uses both Hugo modules and npm packages. We will now take advantage of automation to upgrade both types of dependencies automatically, ensuring our repository is always up to date. However, before we enable these automation steps, we will set up branch protection first.
Testing the branch for the first time
The template includes a GitHub action, or workflow, to automatically test and build our main branch upon each change. You can find the full configuration in .github/workflows/lint.yml. The workflow links to two npm commands, being test and build. By default, Hinode tests content files (extension .md), scripts (extension .js), and styles (extension .scss). The Hinode docs provide more background about the
coding guidelines. The same package.json file also defines a build command, which is just a call to the hugo binary. The GitHub action lint.yml calls both the lint and build commands and is invoked on each push to the main repository, or a PR against the same branch. It also includes a workflow_dispatch trigger that enables us to run the workflow manually.
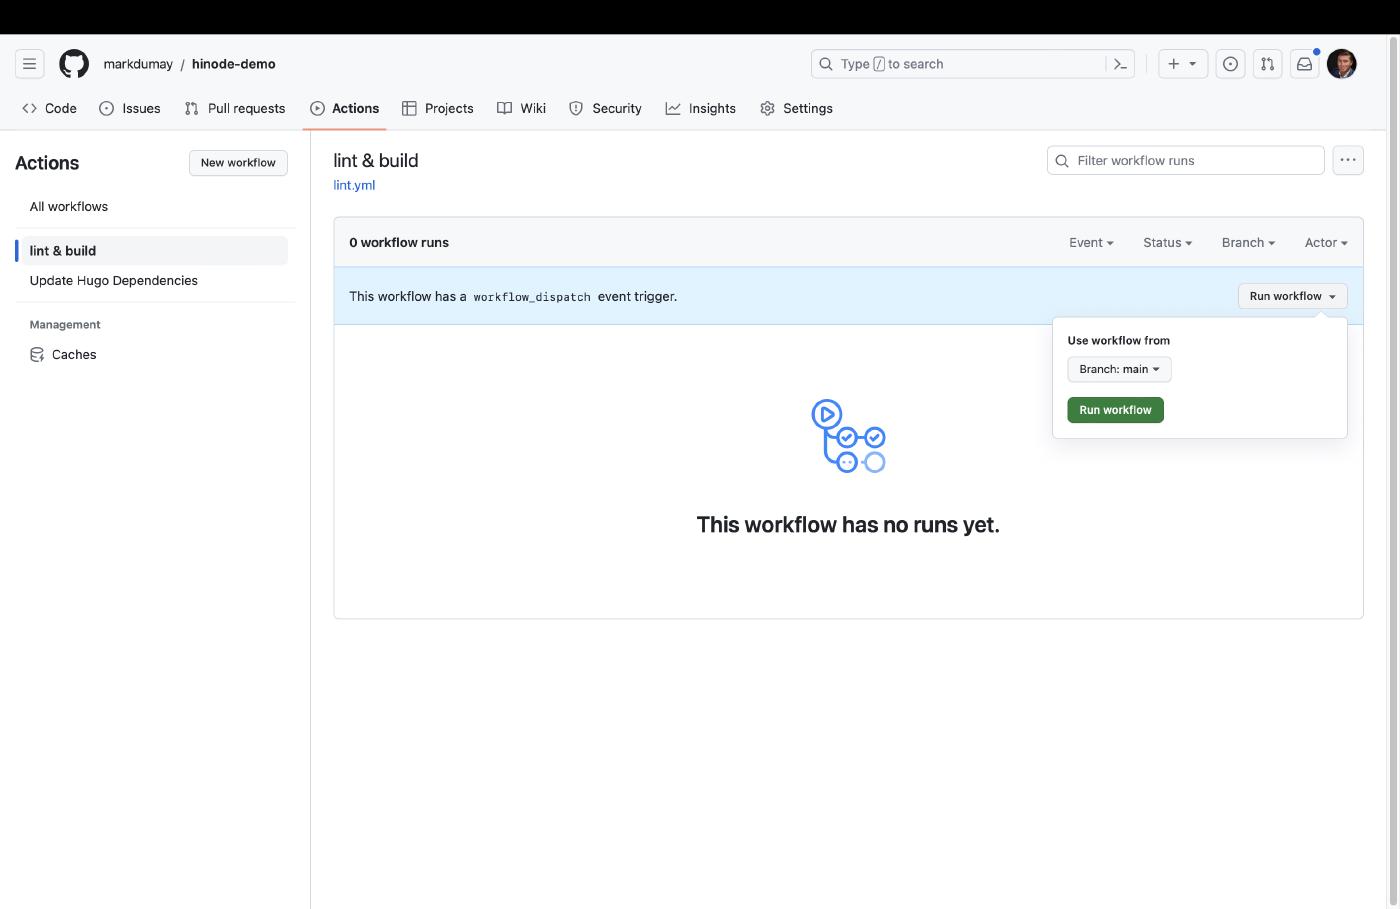

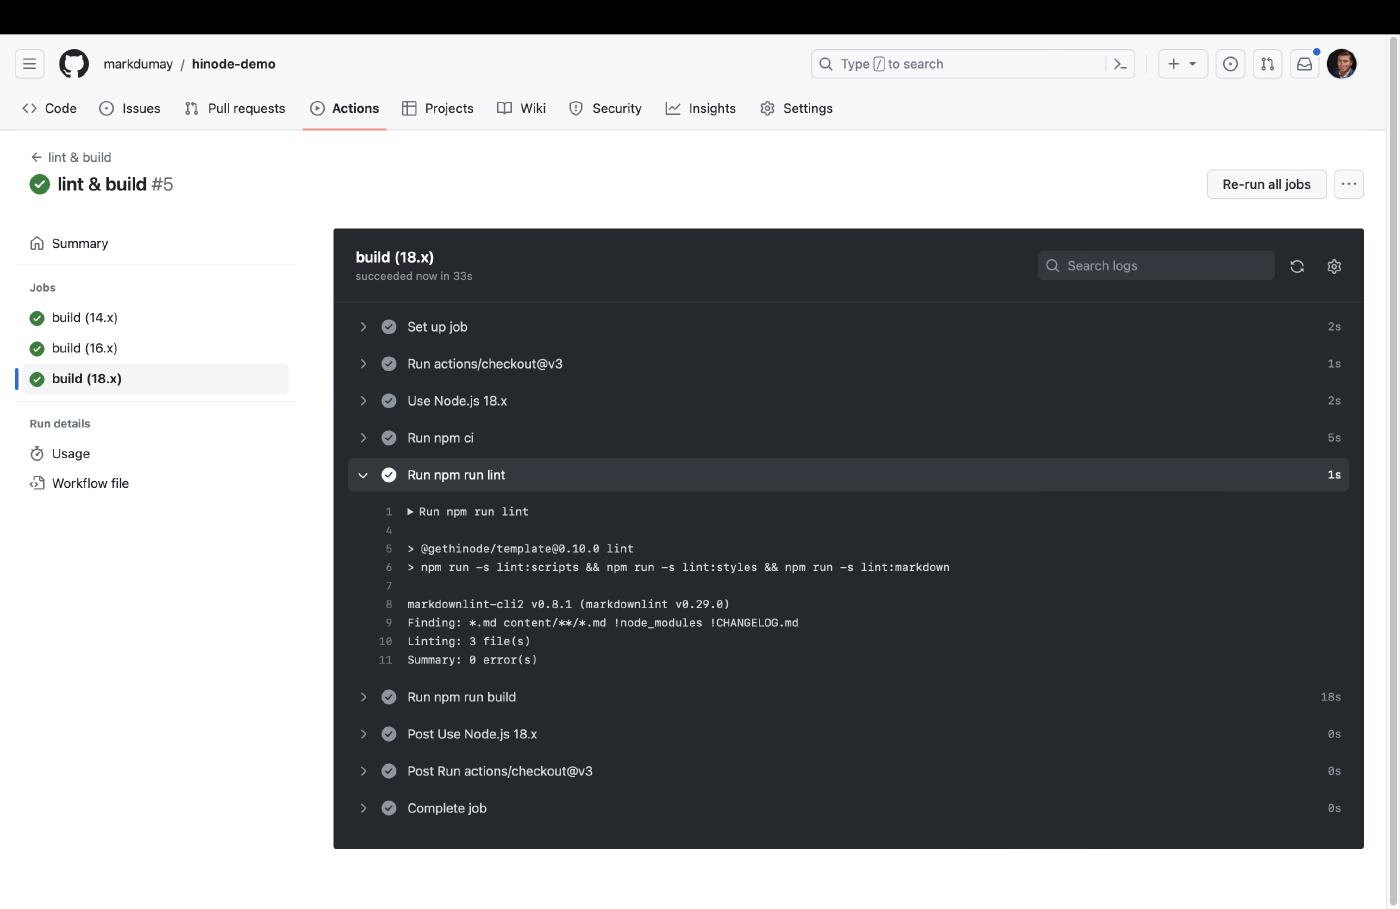
Head over the Actions panel of your GitHub repository. It lists two actions, of which we will select lint & build. Click on Run workflow and Run workflow to manually invoke the workflow. GitHub will then show the various jobs running in parallel. The action runs the npm lint and npm build commands sequentially against a so-called test matrix. The test matrix includes different versions of Node.js to test, but could also include a host Operating System (OS) for example. The main panel shows the terminal output of a runner, which is simply a container running on GitHub’s server with the specified host OS and packages. You can click on each of the jobs’ steps to view the output - which should look familiar. When all jobs have finished successfully, GitHub will report the entire workflow run as completed.
Configuring branch protection
Branch protection sets up rules that must be satisfied before a Pull Request can be merged with a specific branch. This should include your production branch (usually main), but could also include other branches that you would like to control. Branch protection acts as a safeguard to prevent any changes to break your build. Ofcourse, it is not 100% fool proof, so it would still make sense to do regular testing of any changes before you submit them. However, minor dependency updates and security updates should (in theory) not introduce any breaking changes. If you have a stable repository and (main) branch, it is quite safe to assume that, as long as all your tests are successful, these minor updates can be automatically merged without unexpected impact.
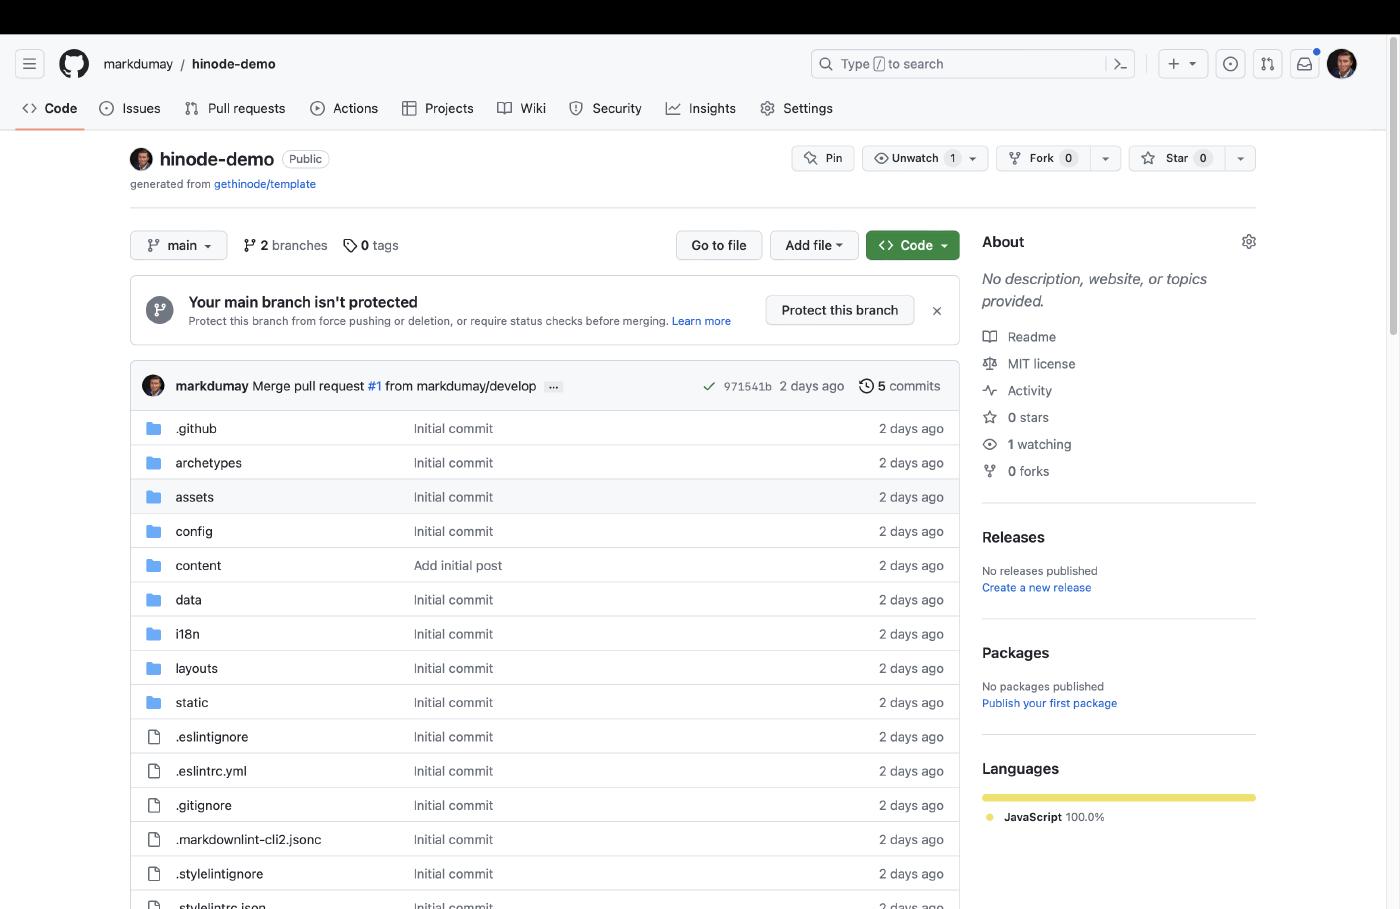
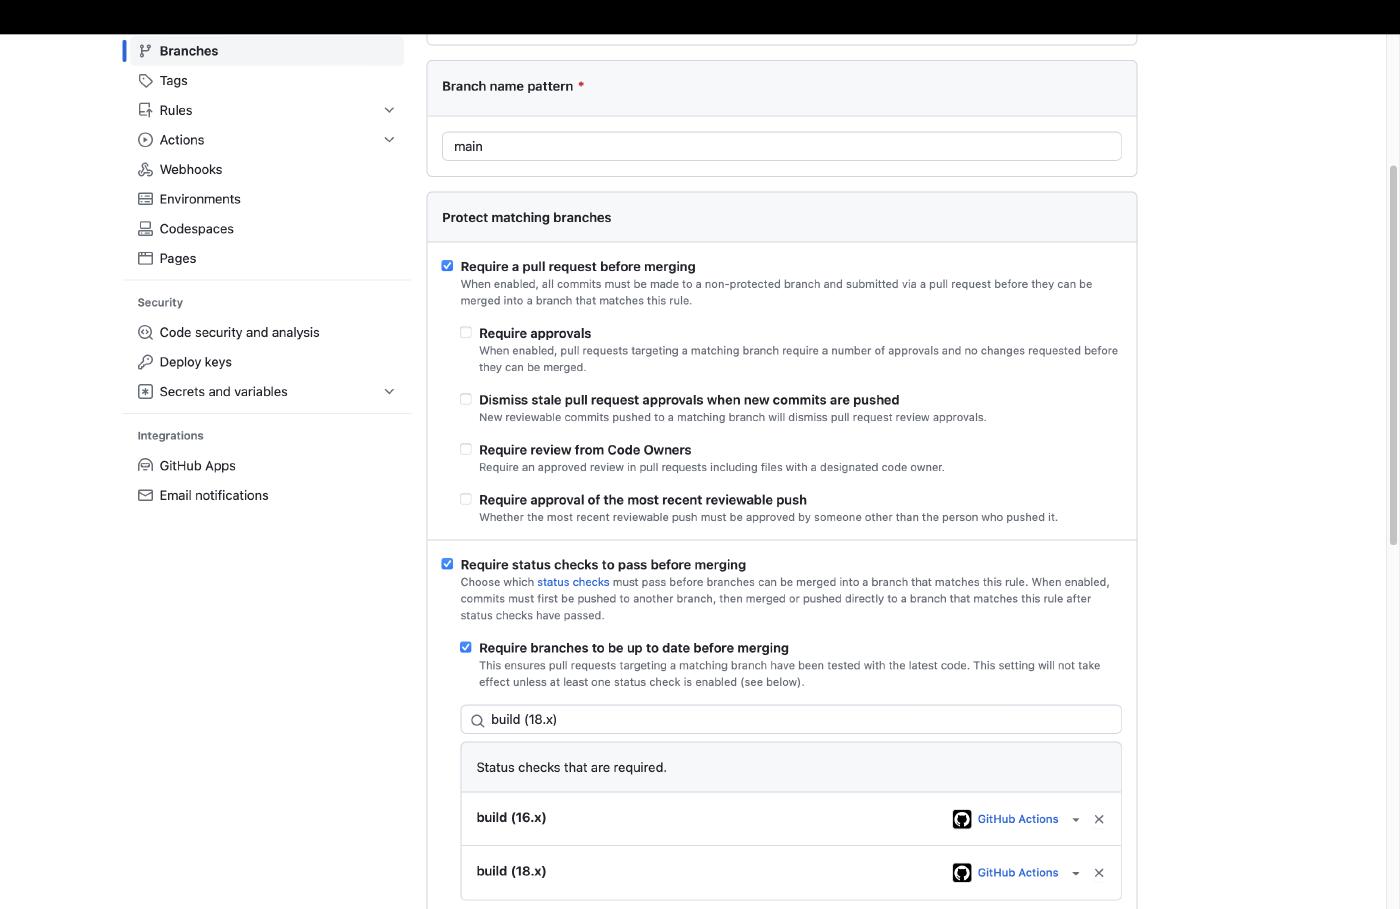

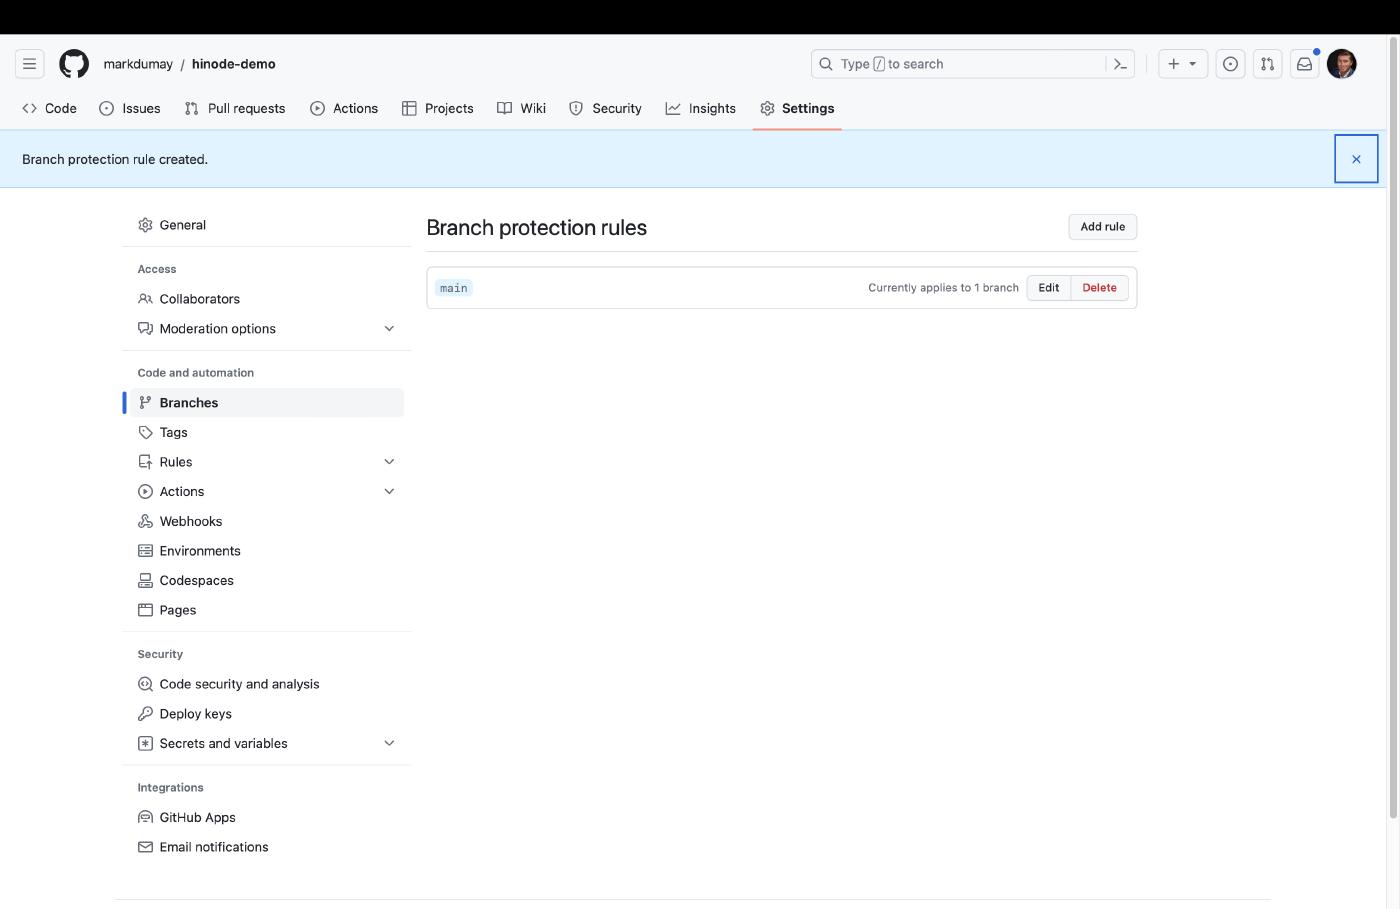
Navigate to the homescreen of your repository on GitHub. You should see a warning that says your main branch is not protected. Click on the button Protect this branch to initiate branch protection. You can set up multiple rules to your liking. The recommende rules to enforce at a minimum are the following:
- Require a pull request before merging
- Require status checks to pass before merging
- Require branches to be up to date before merging
These settings ensure all proposed changes are submitted as part of a PR and prevents any commits directly on the main branch. We can then use each PR request as a trigger to test our codebase and build. We will now select the tests we ran previously in our lint & build action. Add all test labels to the second check (Require status checks to pass before merging) individually. For example, you can add the build (18.x) label as prerequisite, meaning that your site should be compatible with Node.js v18. We are now ready to automate our dependency upgrades.
Enabling auto-merge
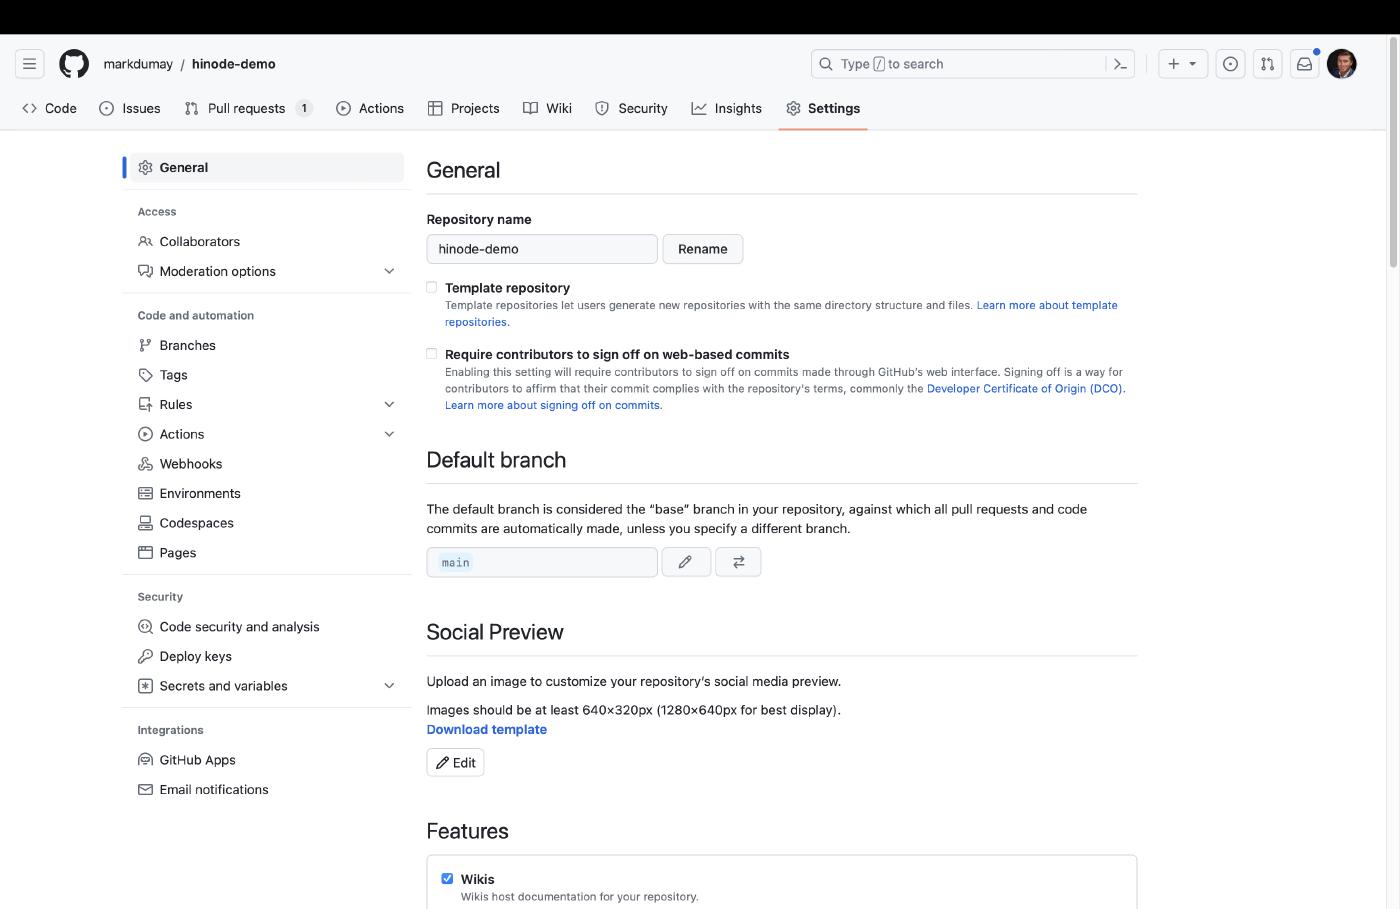
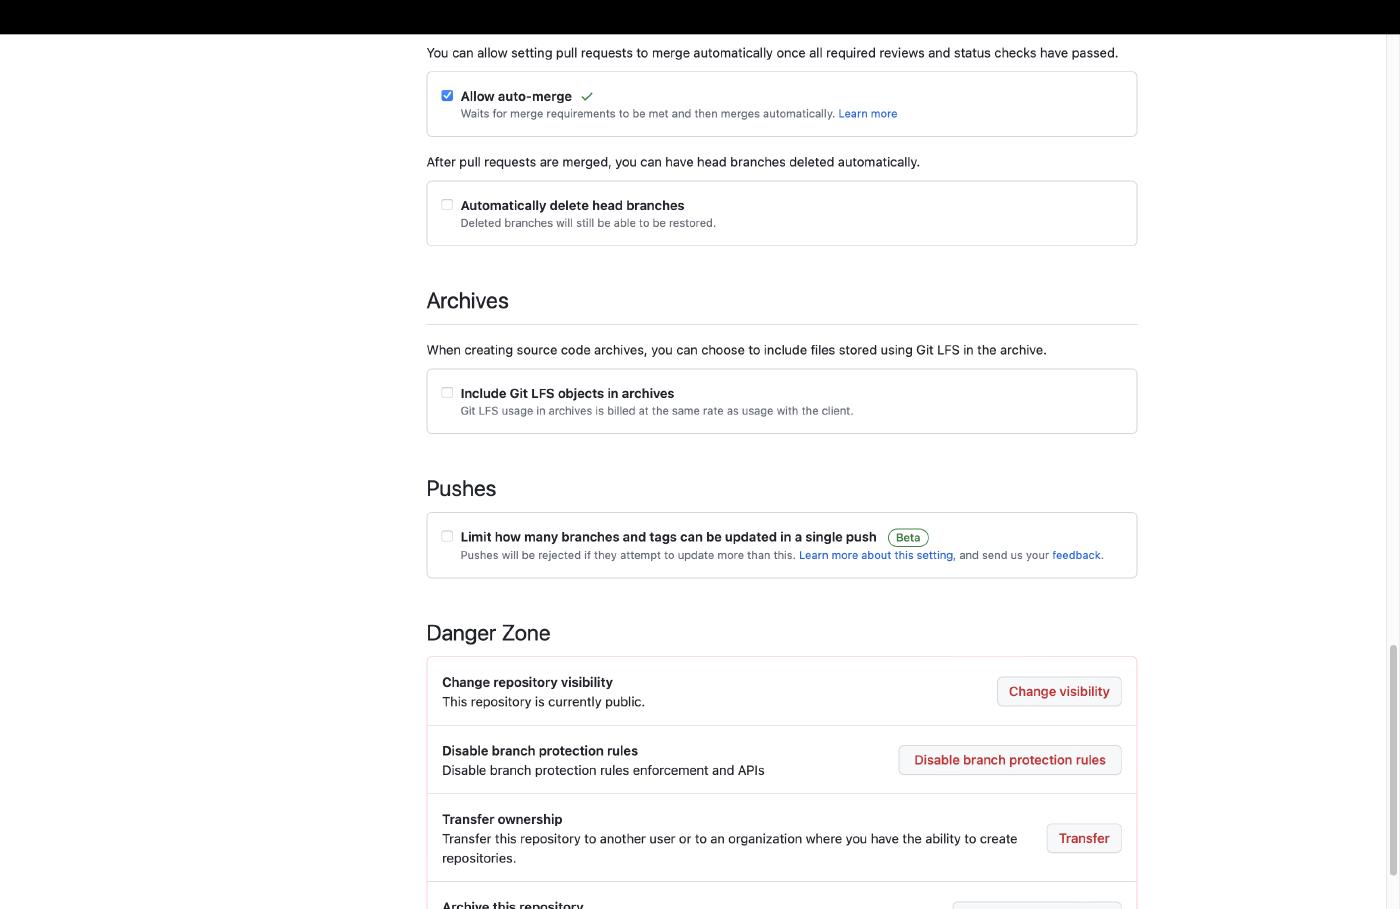
With the branch protection in place we can now enable auto-merge. This setting, which is disabled by default, allows merges to be automated if all preconditions (~branch protection rules) have been met. Head over to the general section in the repository settings. Within the section, scroll down until you find a setting called Allow auto-merge. Select it to apply this setting.
We can now configure our dependency upgrades and allow them to be automatically merged.
Automating dependency upgrades
GitHub provides an action called
Dependabot that helps us to automate the upgrades of our npm dependencies. The Hinode template has enabled Dependabot by default. The configuration can be found in .github/dependabot.yml. Dependabot is not compatible with Hugo modules yet. Instead, Hinode uses
create-pull-request from Peter Evans to update the Hugo modules. It calls the npm mod:update command on a scheduled interval. It will create a new branch and a Pull Request if it finds any updates. The corresponding action with the title Update Hugo Dependencies can be found in .github/workflows/update.yml.
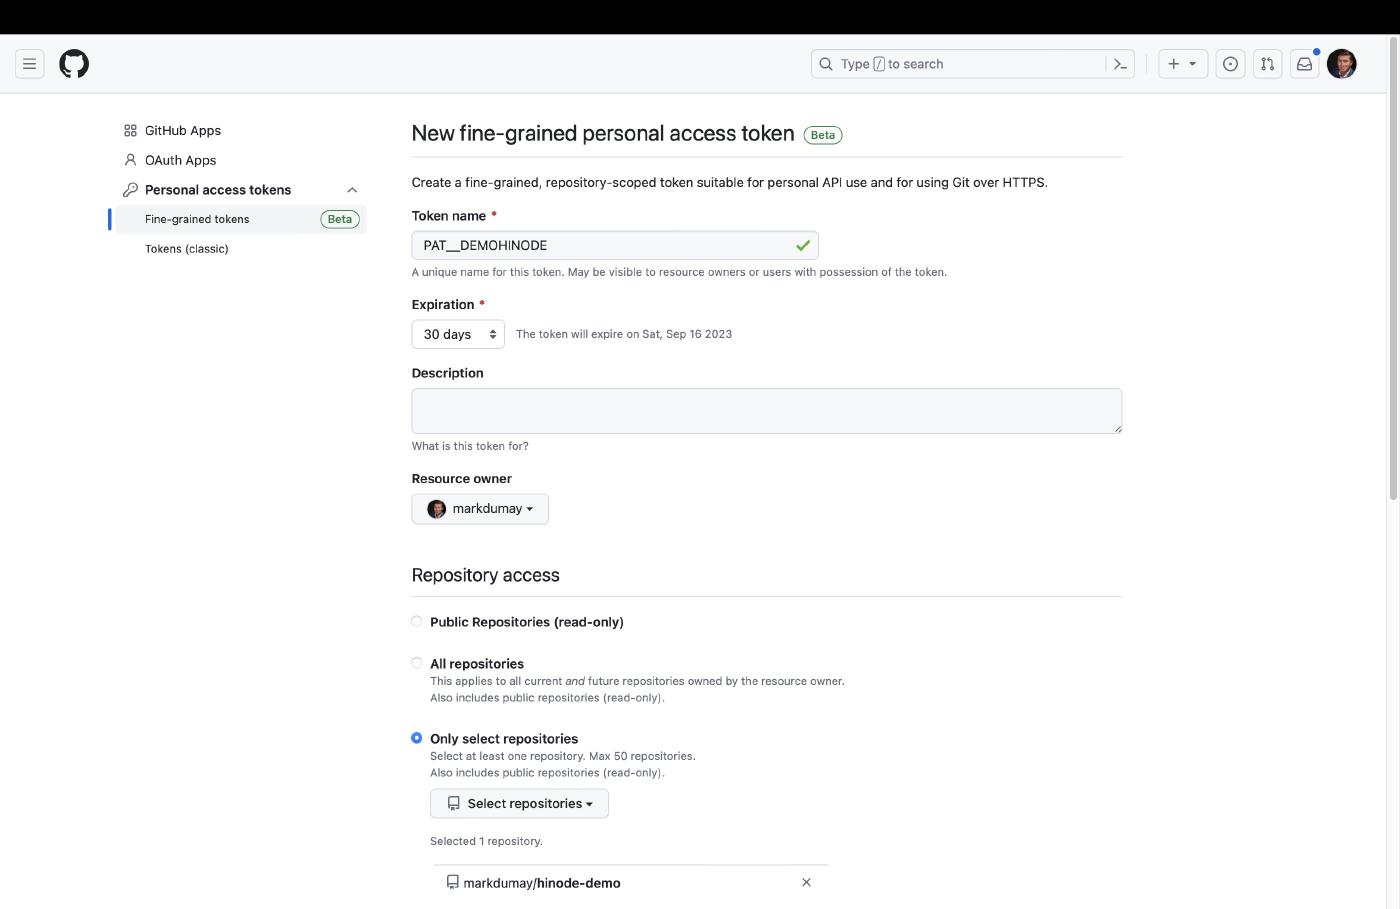
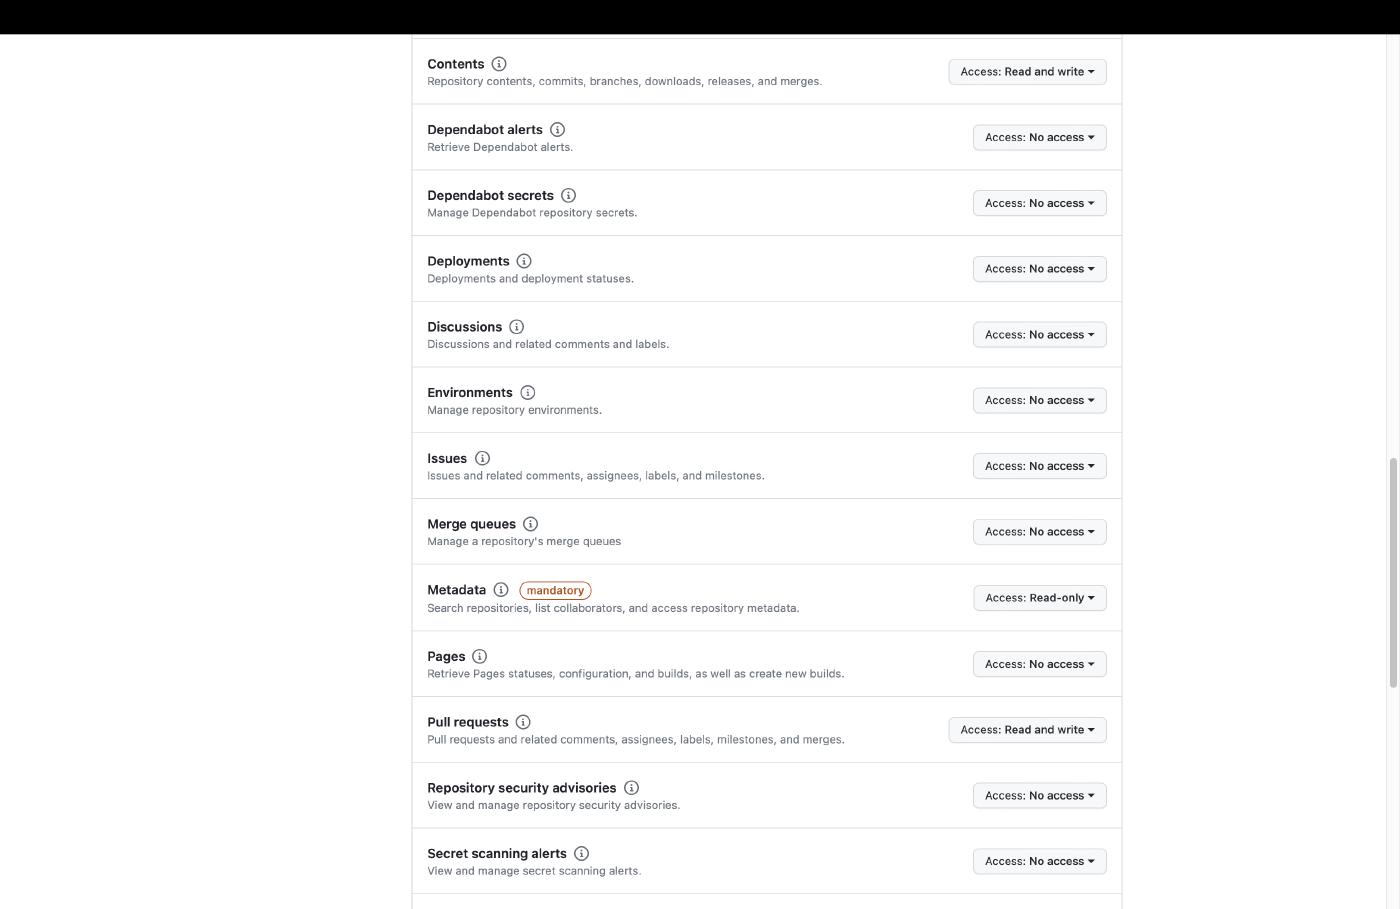
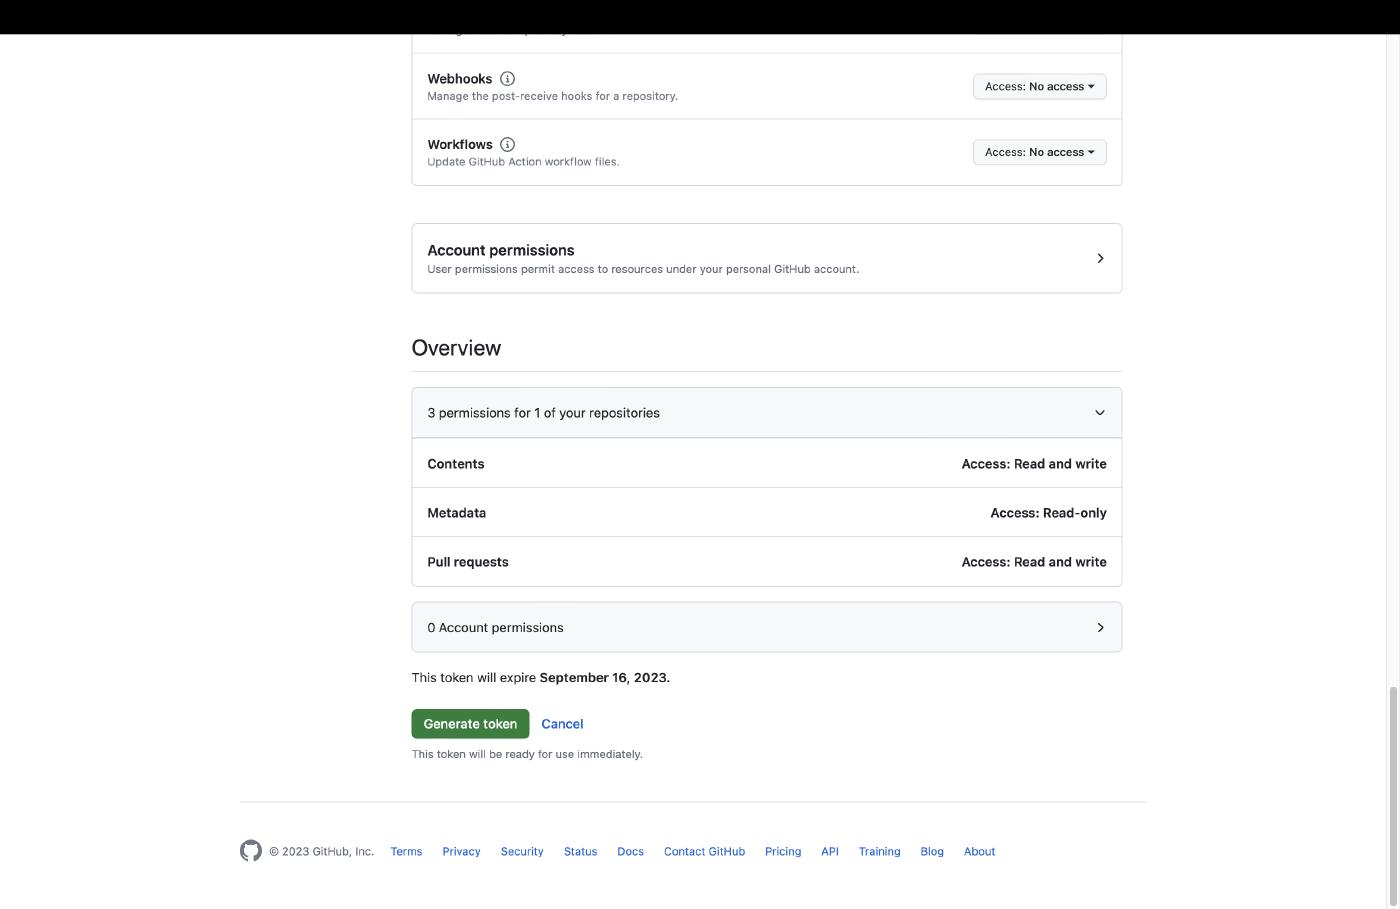
The Update Hugo Dependencies action requires elevated privileges. We will now create a new fine-grained Personal Access Token (PAT) called HUGO_MOD_PR to authorize this action to run on our behalf. Set up the token in the Developer settings of your Account settings on GitHub. The token requires access to your repository with the following permissions:
- Read and Write access to content (code) and pull requests
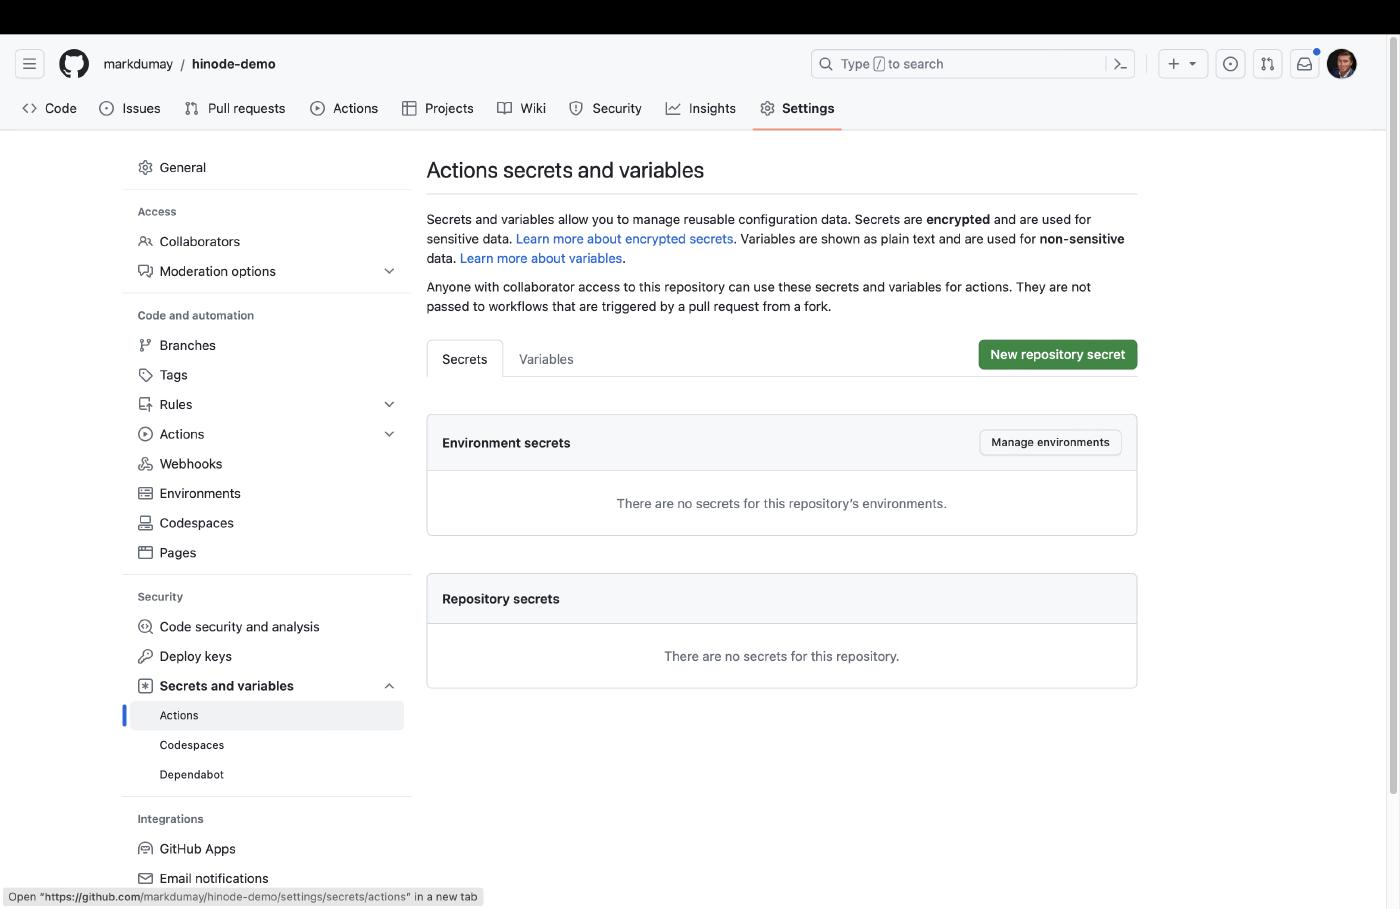
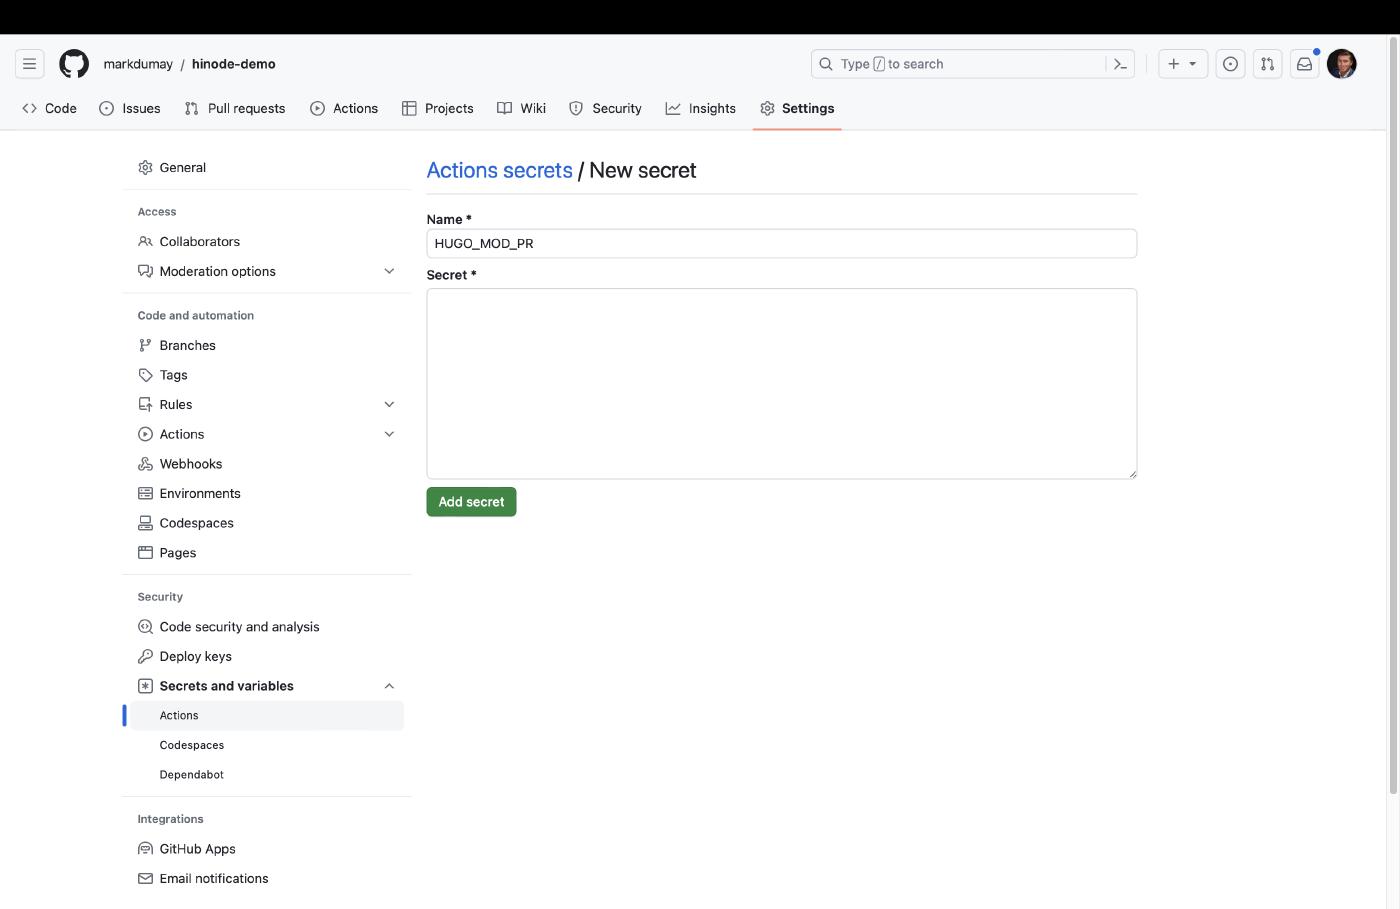
When done, head over to action secret in the security section of the repository configuration. Create a new Repository token with the name HUGO_MOD_PR in your repository configuration and paste the PAT as content. Click on Add secret to add it to your repository.
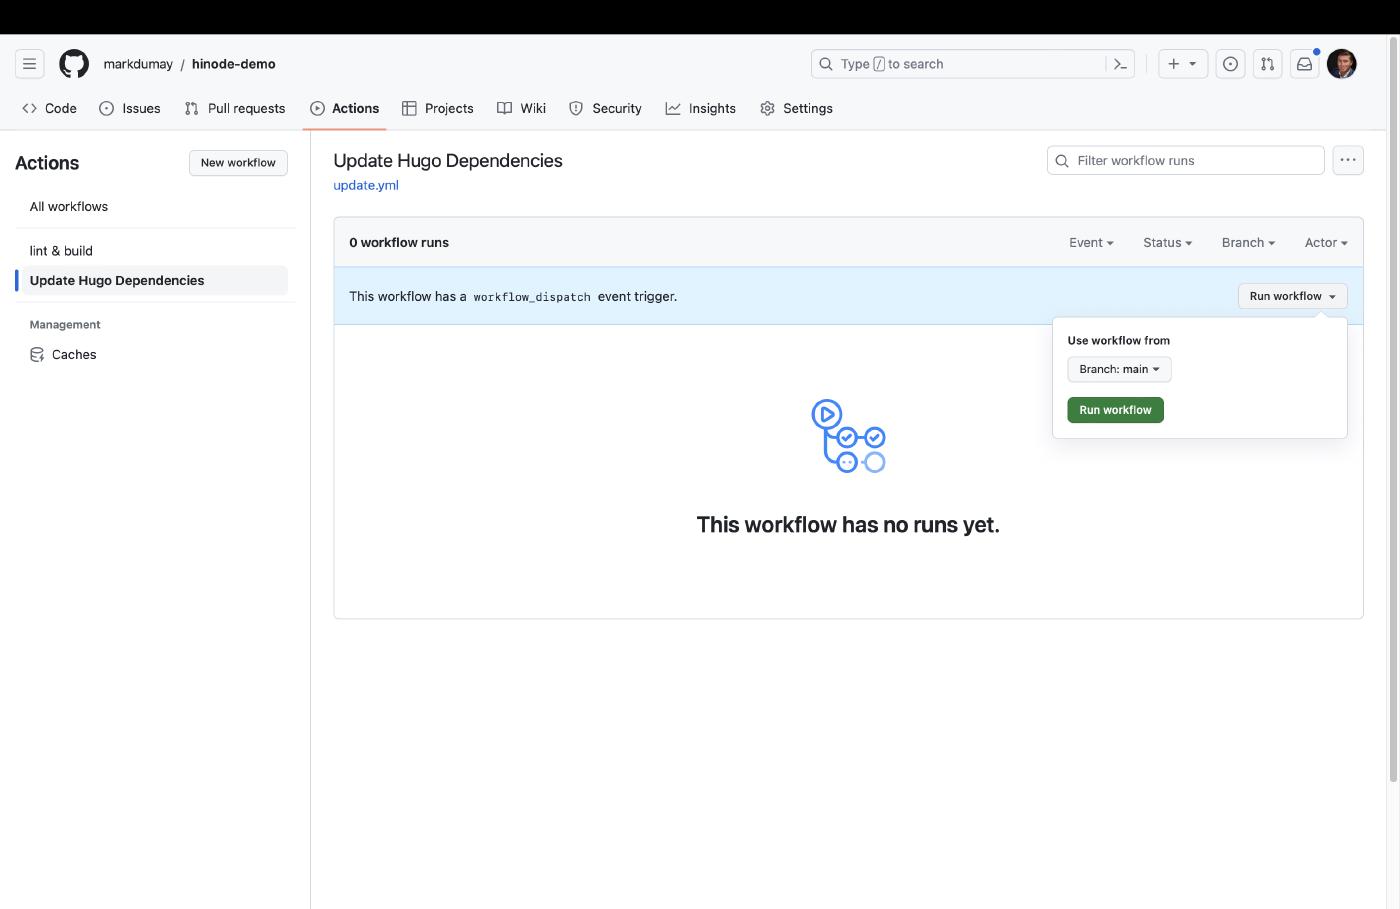
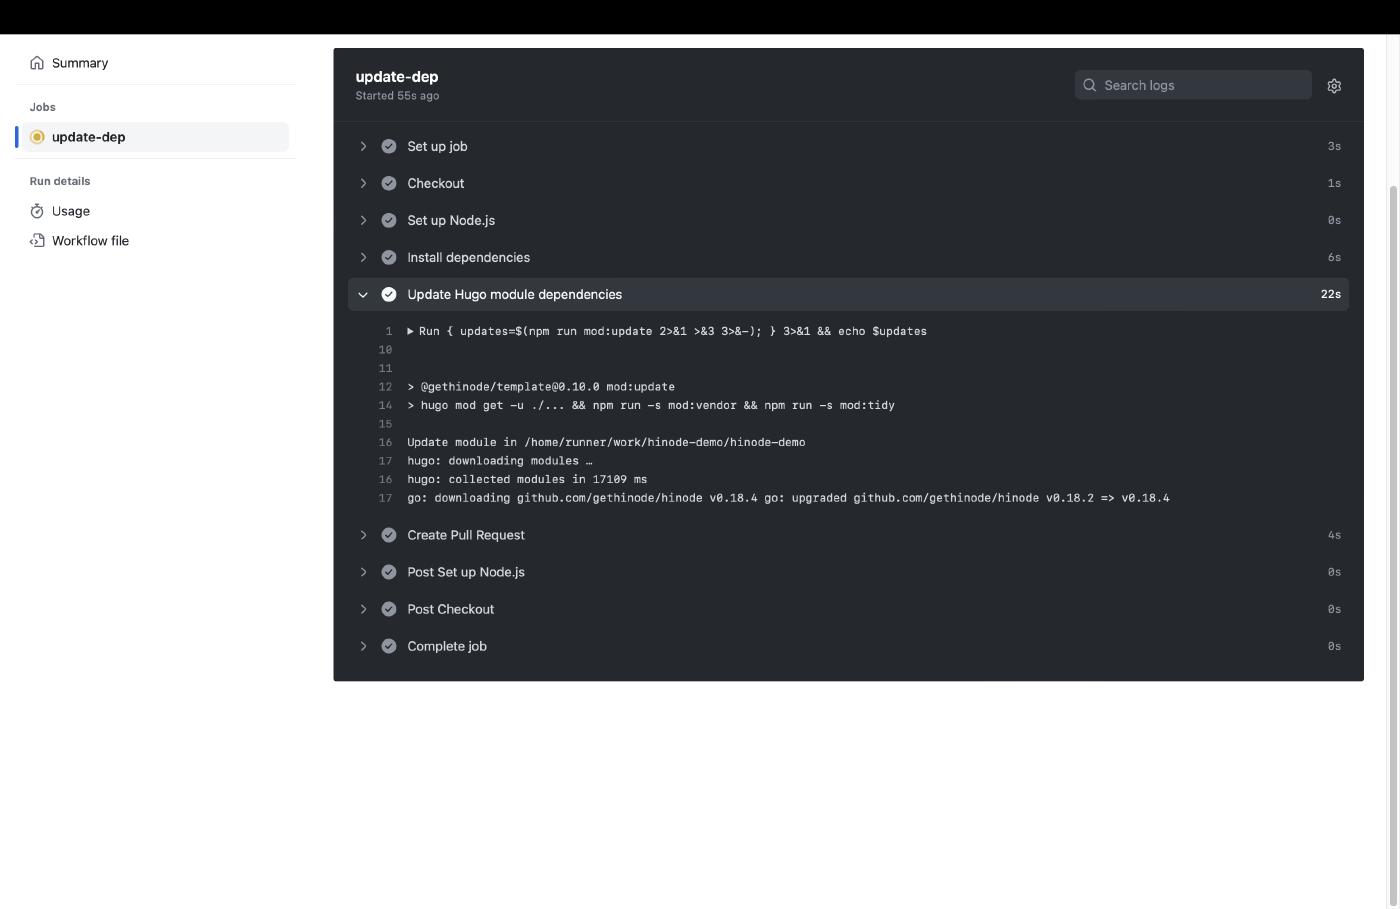
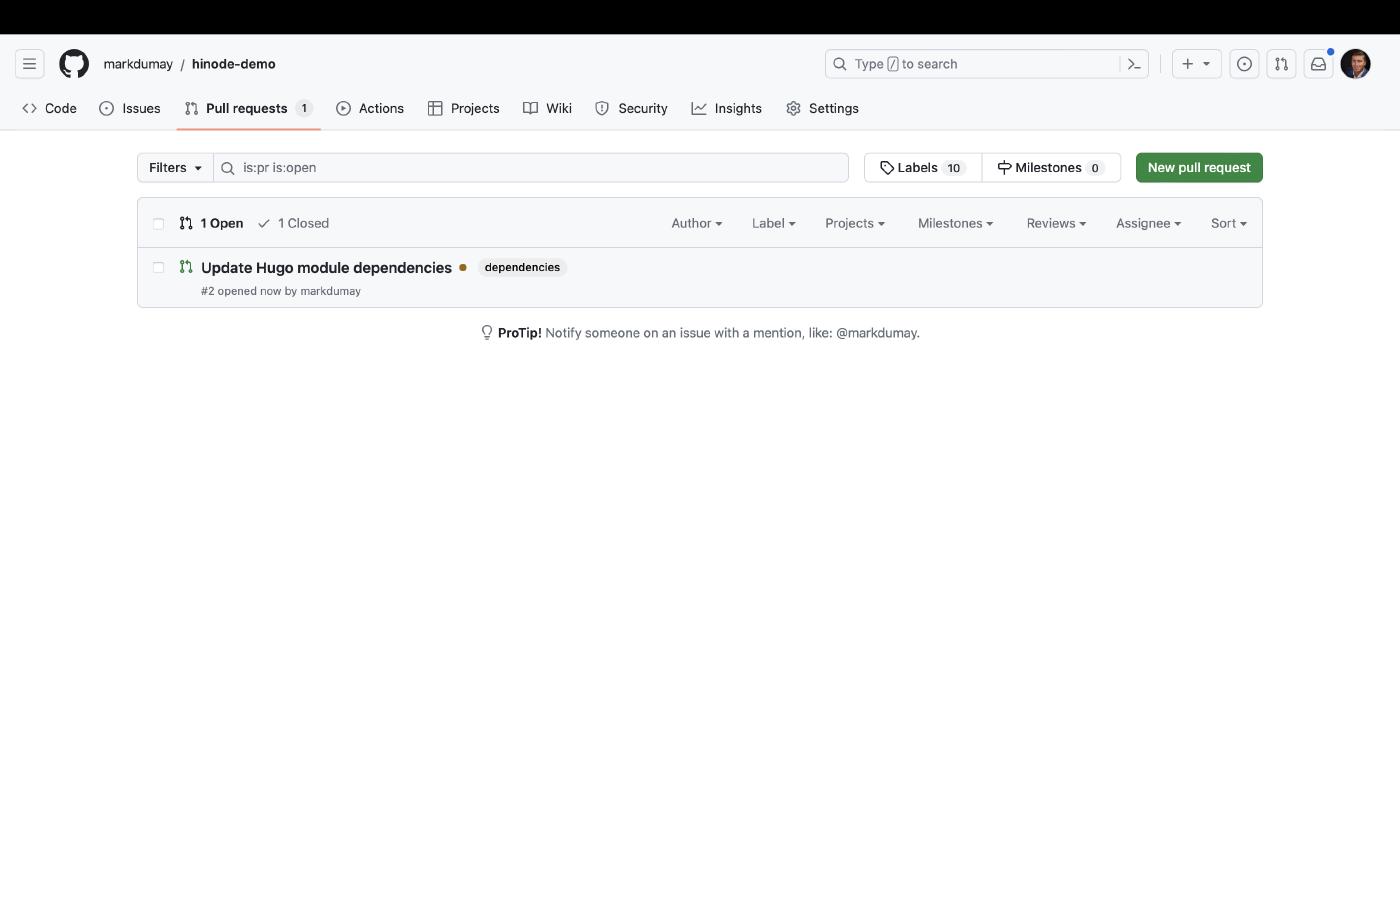
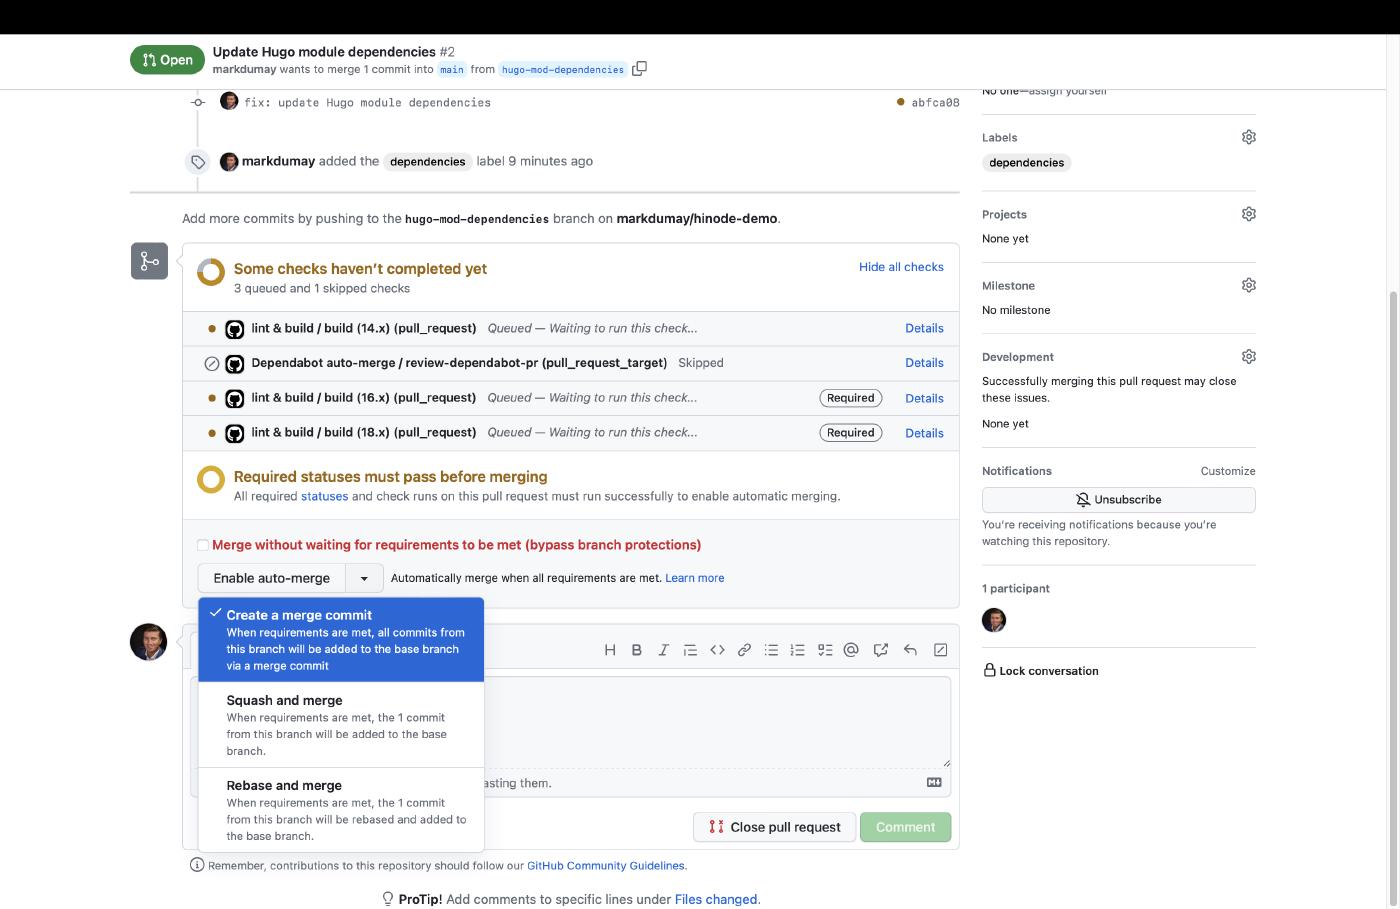
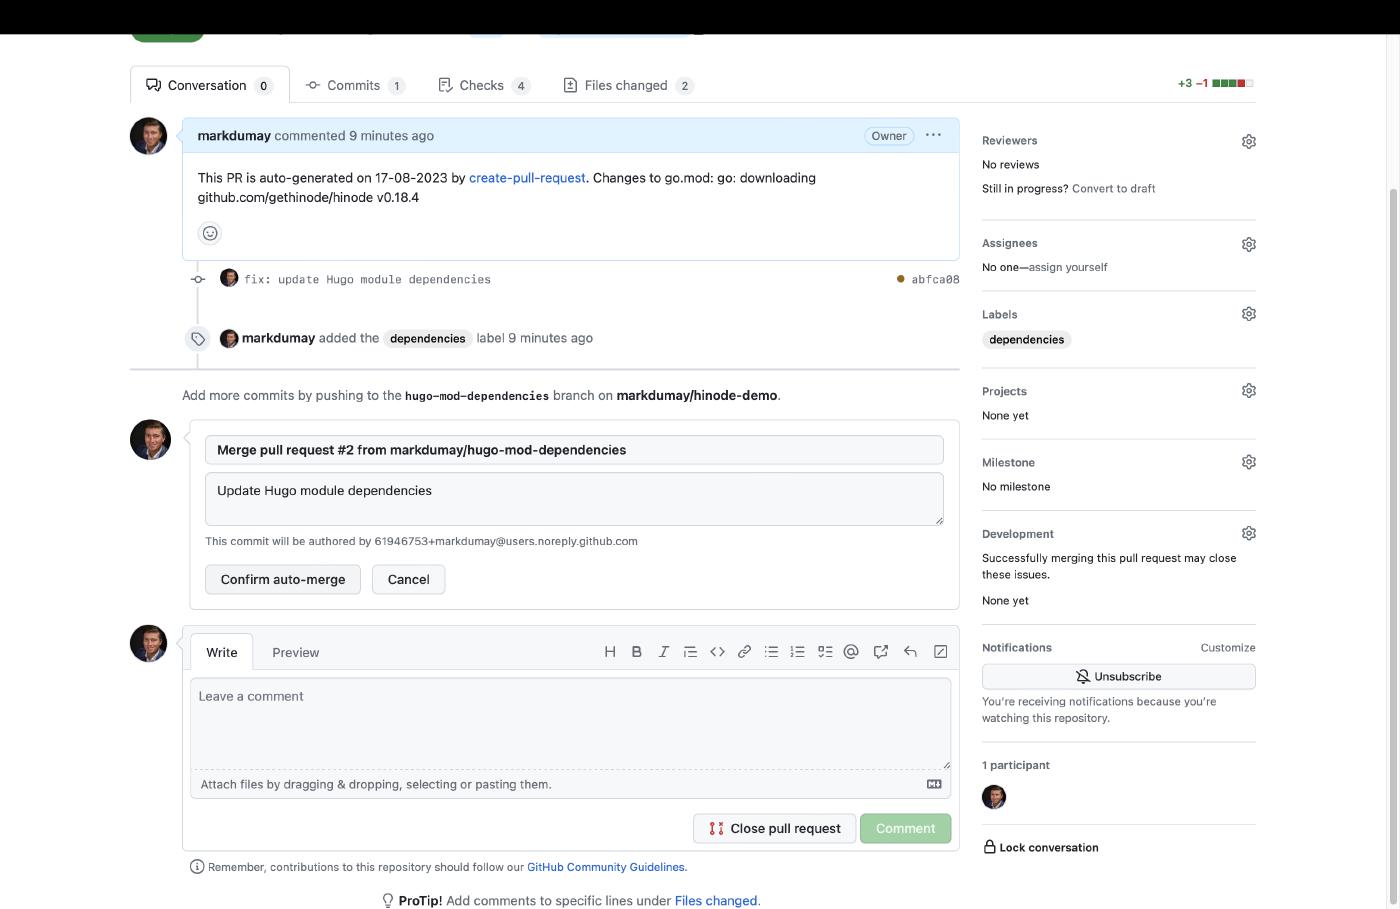
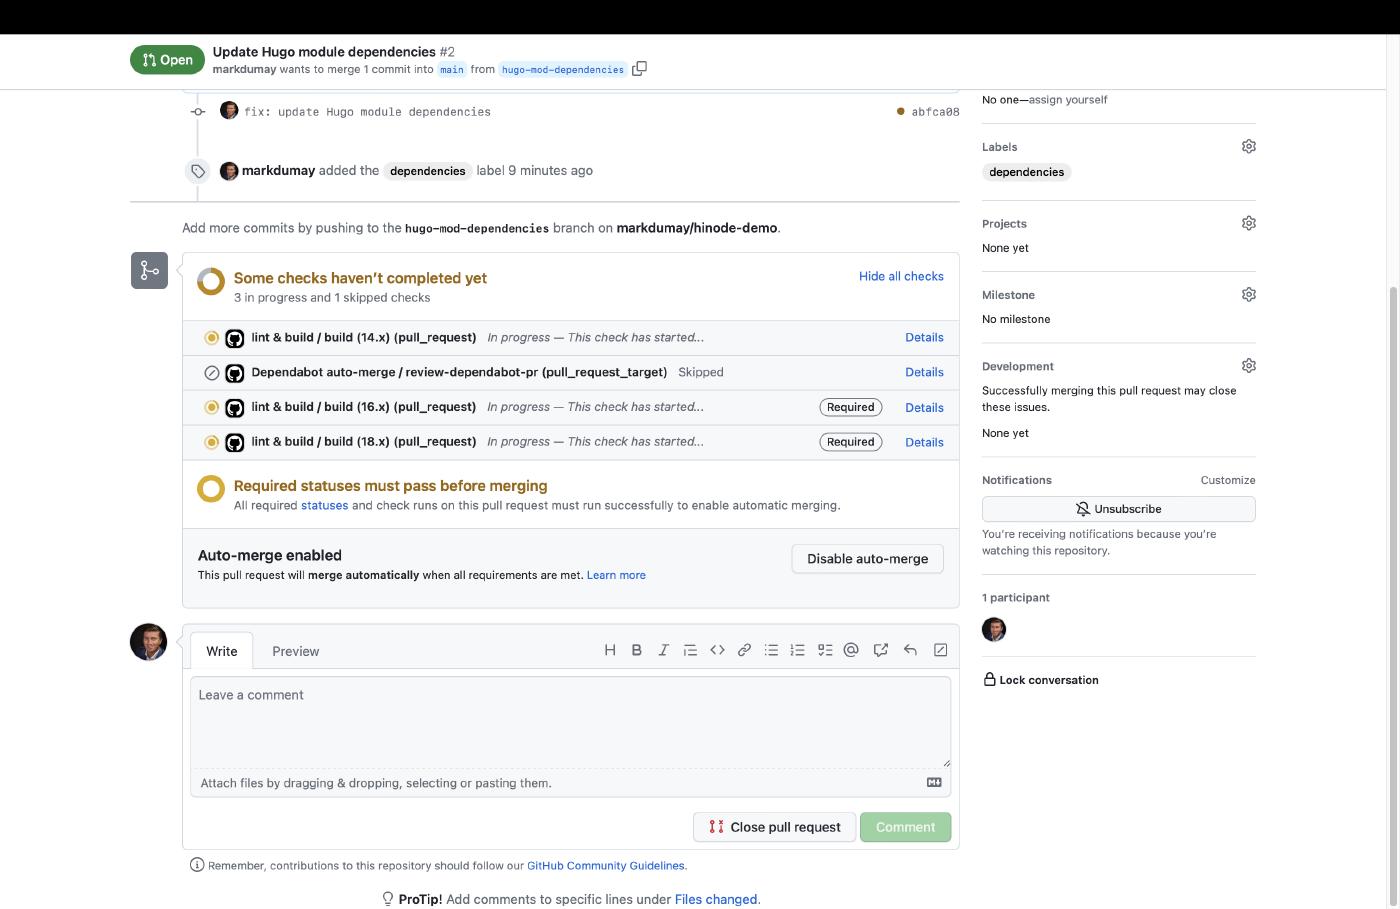
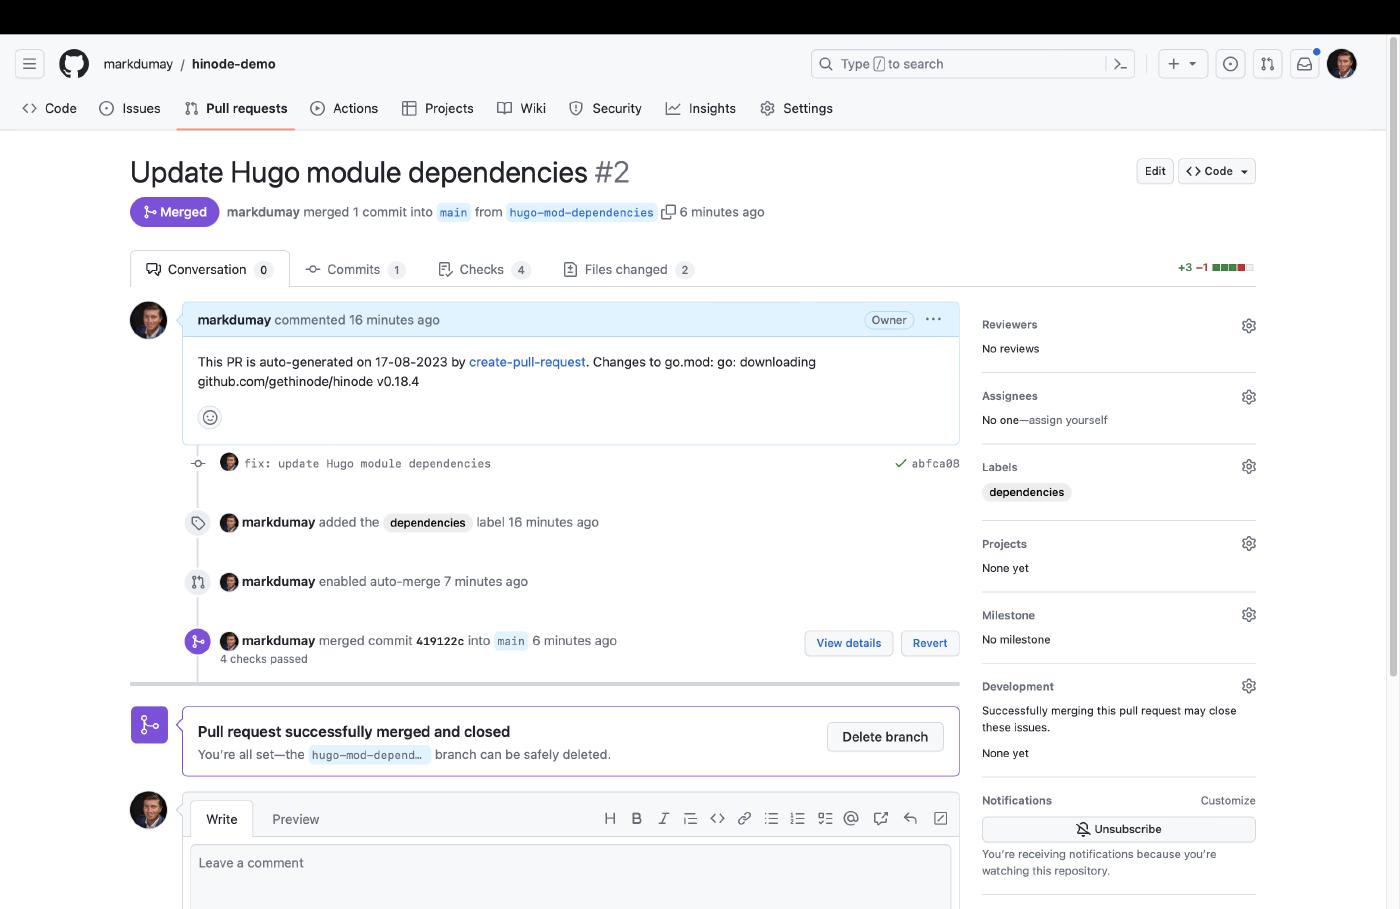
We can now run the Update Hugo Dependencies action. Head over to the actions overview and trigger the action manually. You can review the job output. When any modules updates have been found, the action will automatically create a PR on our behalf. Go to the Pull Requests overview and select the corresponding PR. You can now enable auto-merge for this type of PR. When all checks have been met, GitHub will automatically merge the PR with the main branch.
Conclusion
You have now successfully created your initial Hinode site with version control and automated updates. Review the hosting and deployment options to see various options on how to (automatically) publish your site to a hosting provider.
Refer to the installation instructions if you prefer to install Hinode as a regular Hugo theme. ↩︎